

Instant Pot Taiwanese Braised Pork Belly (FORK TENDER)

Lunar New Year is just around the corner; here is my easy, savory, and melt-in-your-mouth fail-proof Taiwanese Braised Pork Belly made in an Instant Pot. The pork is braised until FORK TENDER and packed with flavor. The sauce is savory and sweet with layers of umami flavor from different spices and condiments. Get your rice and belly ready because this Taiwanese Braised Pork Belly is going to blow your mind!
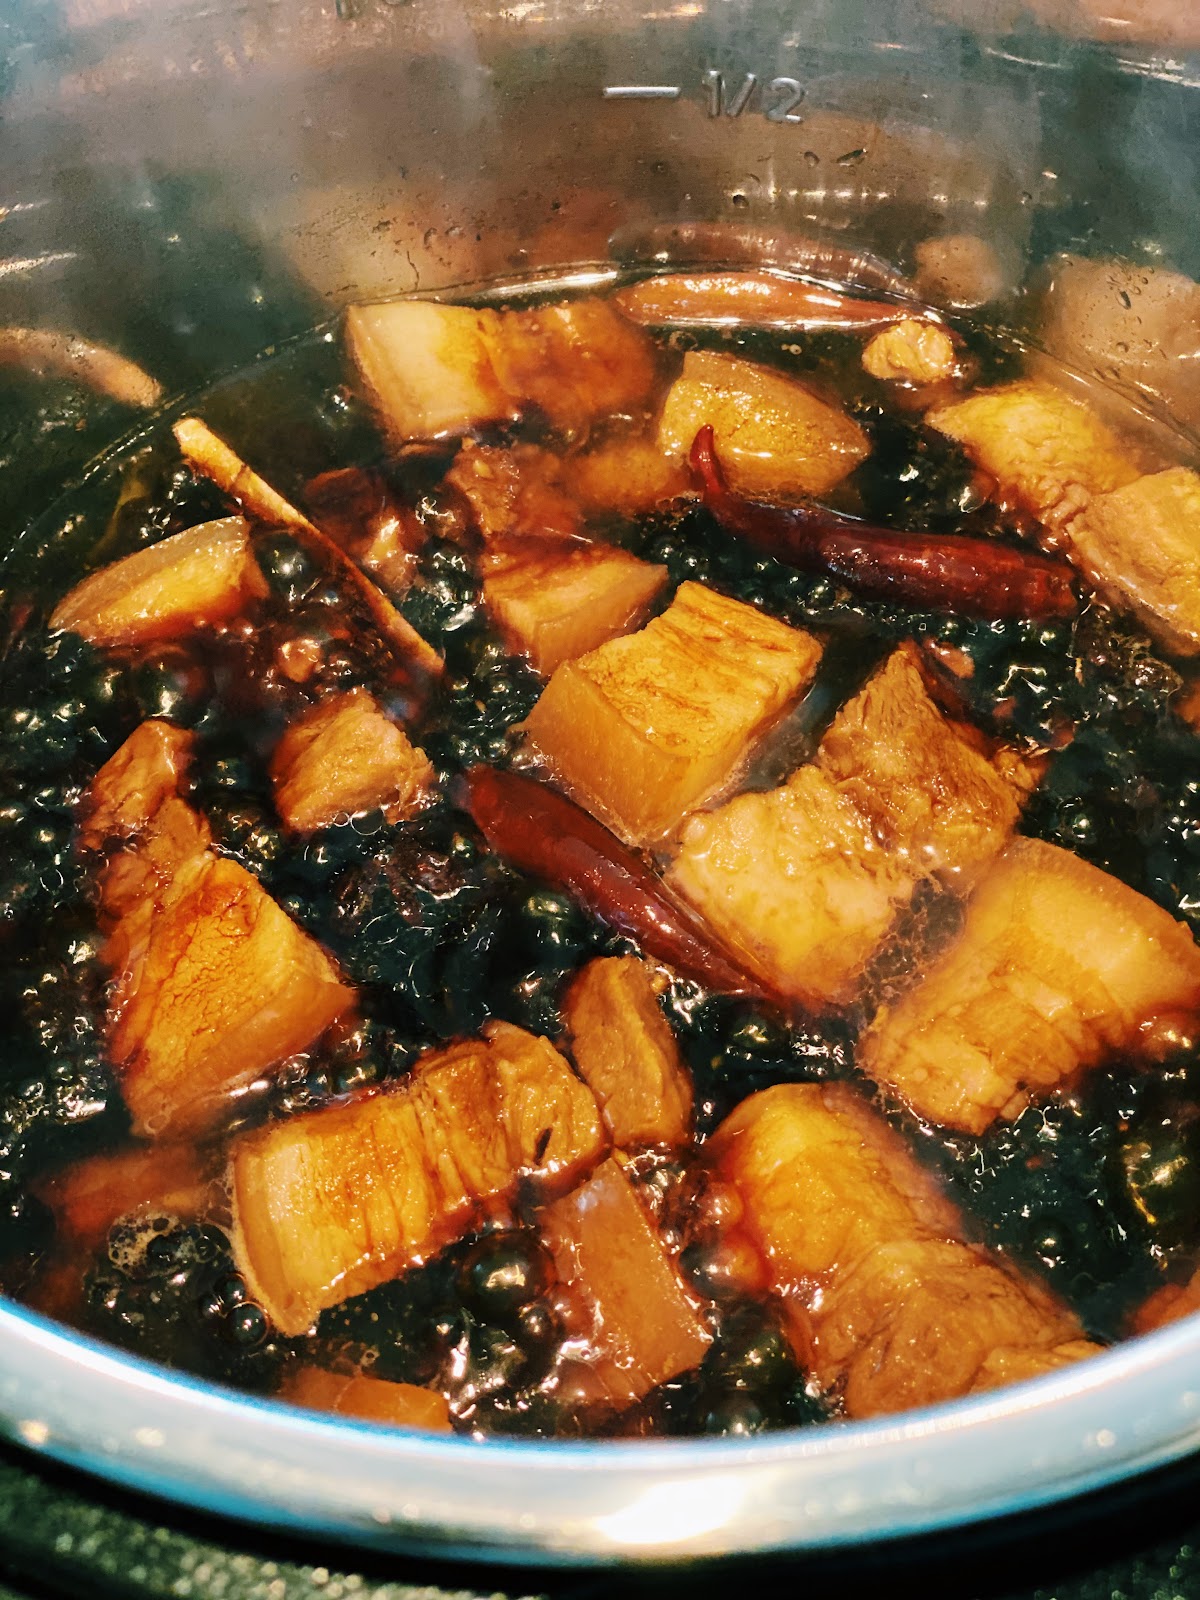
Braised Pork Belly Recipes Around The World
There are so many Braised Pork Belly variations from all around the world, such as Filipino Adobo, Vietnamese Thit Kho, Shanghai-Hong Shao Rou, and even within Taiwan, there are so many variations. Over the next few months, I will be showing you different variations of braised pork belly recipes, because each version has a secret technique that makes it unique.
Today we are making my easy instant pot Taiwanese Braised Pork Belly that I grew up eating for dinner. It is not too heavy and pairs perfectly with rice.
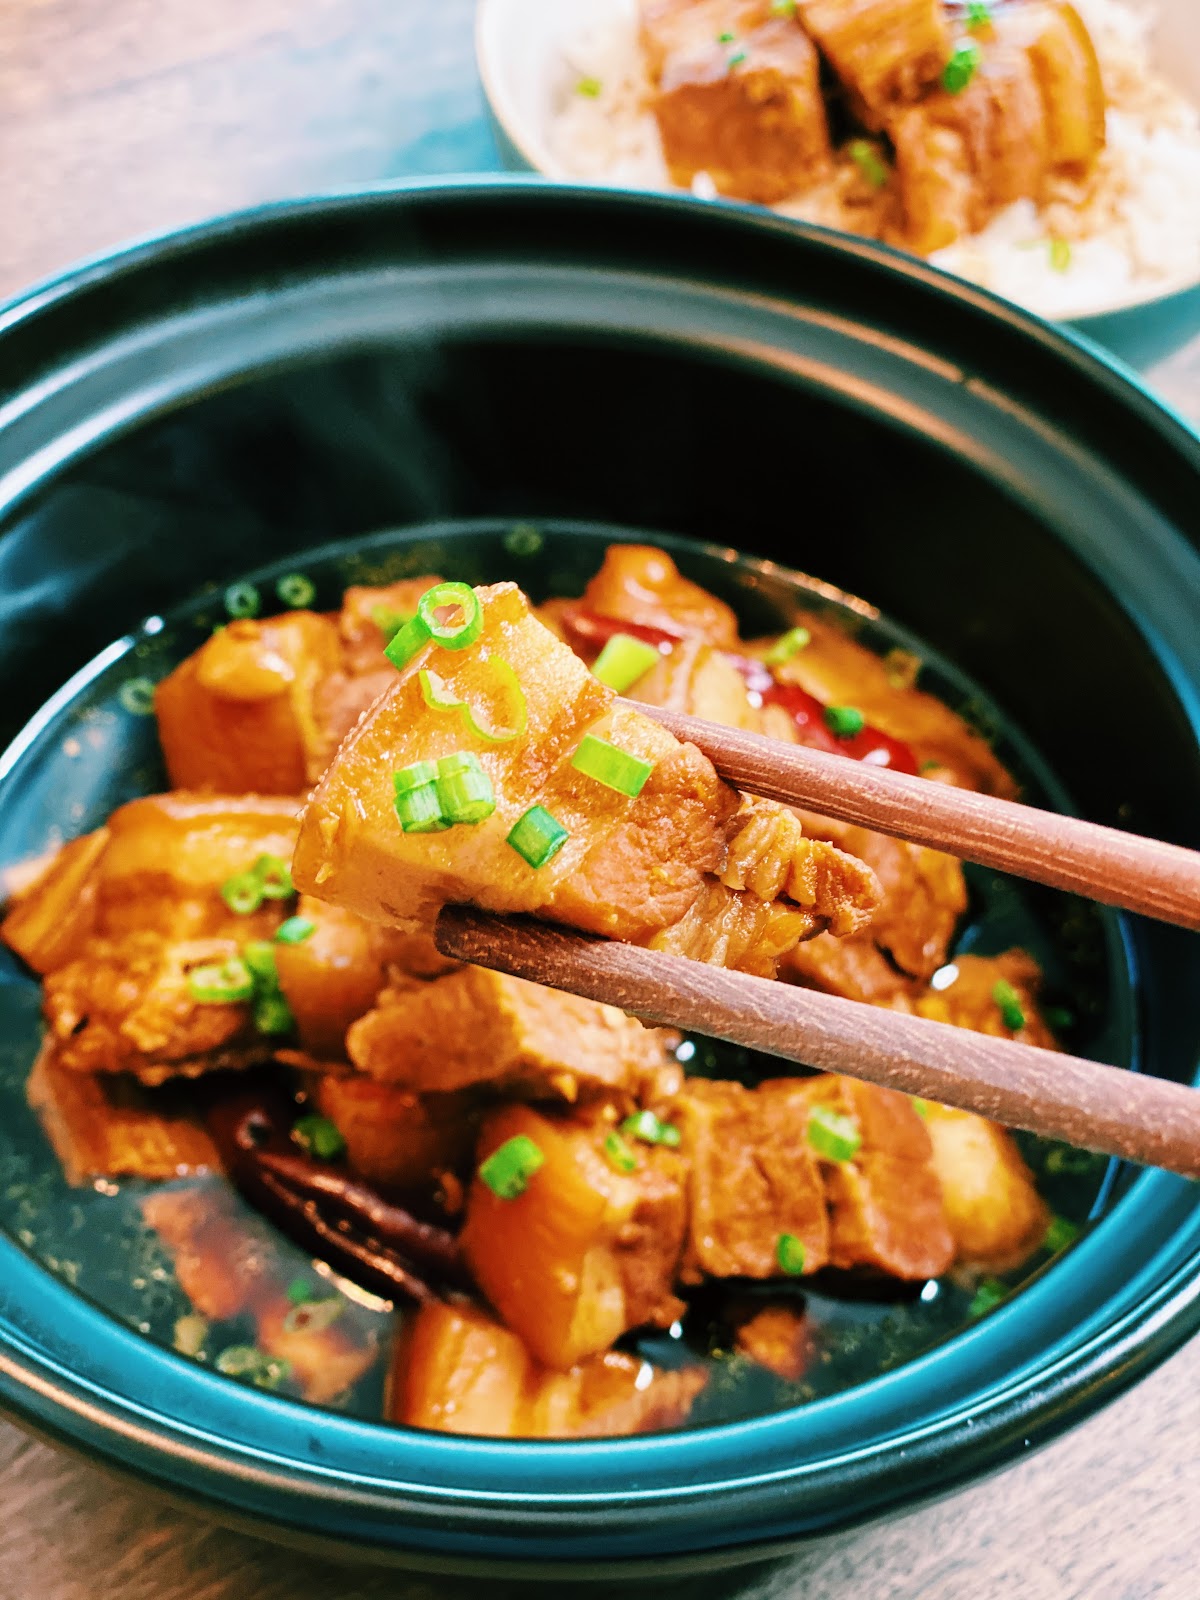
Cooking Pork Belly with Instant Pot
Cooking with an Instant Pot not only cuts the cooking time in half, but the pork belly comes out extra tender every single time. This is a great dish to make for weeknight dinners as you toss it all in, and you don’t have to worry about it until you are ready to eat! If you’re looking for an instant pot, my favorite is this Air Fryer Instant Pot Combo!
If you have extra time, add in a hard boil egg and let it simmer for an additional 30 minutes for a yummy braised egg. In Taiwan, we like to pair it with Taiwanese Cucumber Salad and Chinese Pickled Cabbage since savory and sweet pairs perfectly with sour!
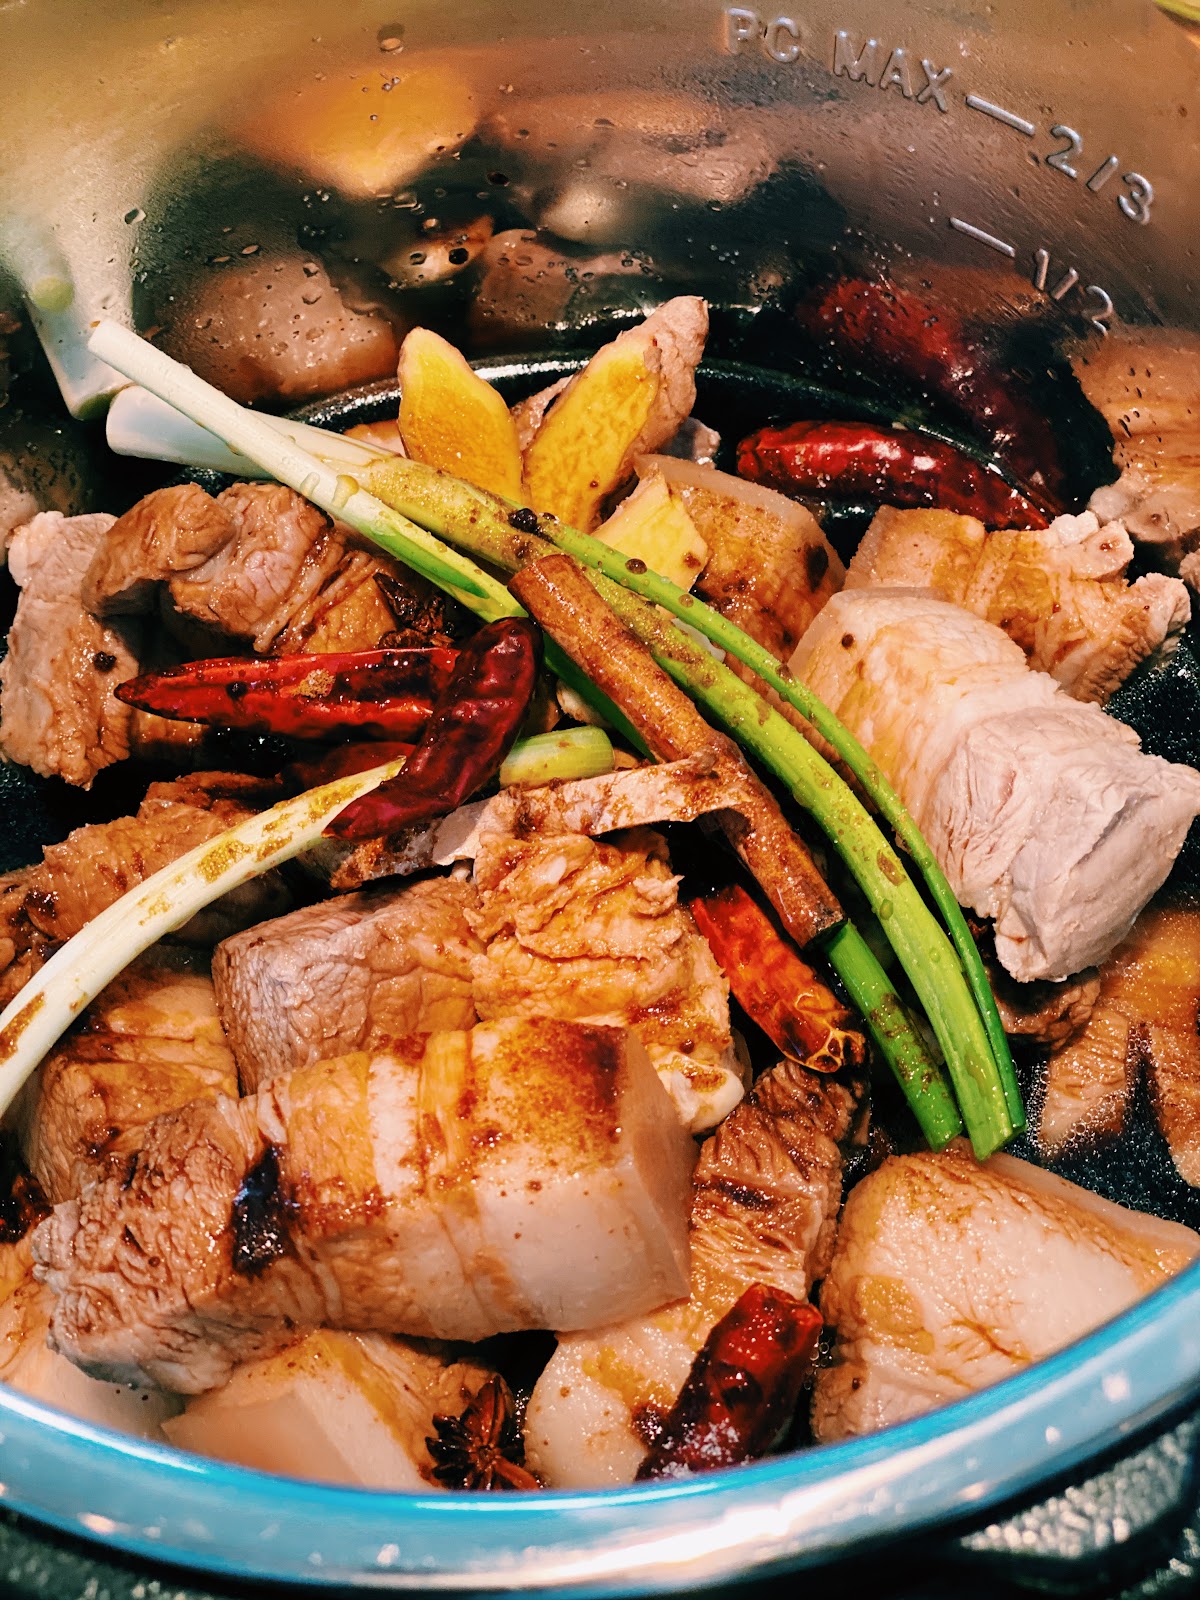
How To Clean and Prepare Pork Belly For Braising
One of the most important steps for making the perfect braised pork belly is blanching before braising. Don’t worry, you’re not losing any flavor. Blanching actually helps the pork belly absorb even more of that delicious sauce, giving it a delicate clean taste.
To blanch your pork belly, boil it. Once you finish blanching the pork belly for 3-5 minutes, rinse clean with cold water before adding it to the Instant Pot. For an extra clean flavor, I sometimes take the optional step of adding ginger, green onion, Sichuan peppercorn, and sake to the boiling water before blanching.

Taiwanese Braised Pork Belly Ingredients
- 2.5 lb Pork Belly
- 4 thin slices of Ginger
- 10 cloves Garlic smashed
- 2 Green Onion
- 1 small Cinamon Stick
- 4 Star Anise
- 5 Red Whole Chili
- ¼ cup Soy Sauce
- ¼ cup Dark Soy Sauce
- 4.5 tbsp Brown Sugar or Rock Sugar
- 3 tbsp Chinese Cooking Wine optional
- ¼ cup Water
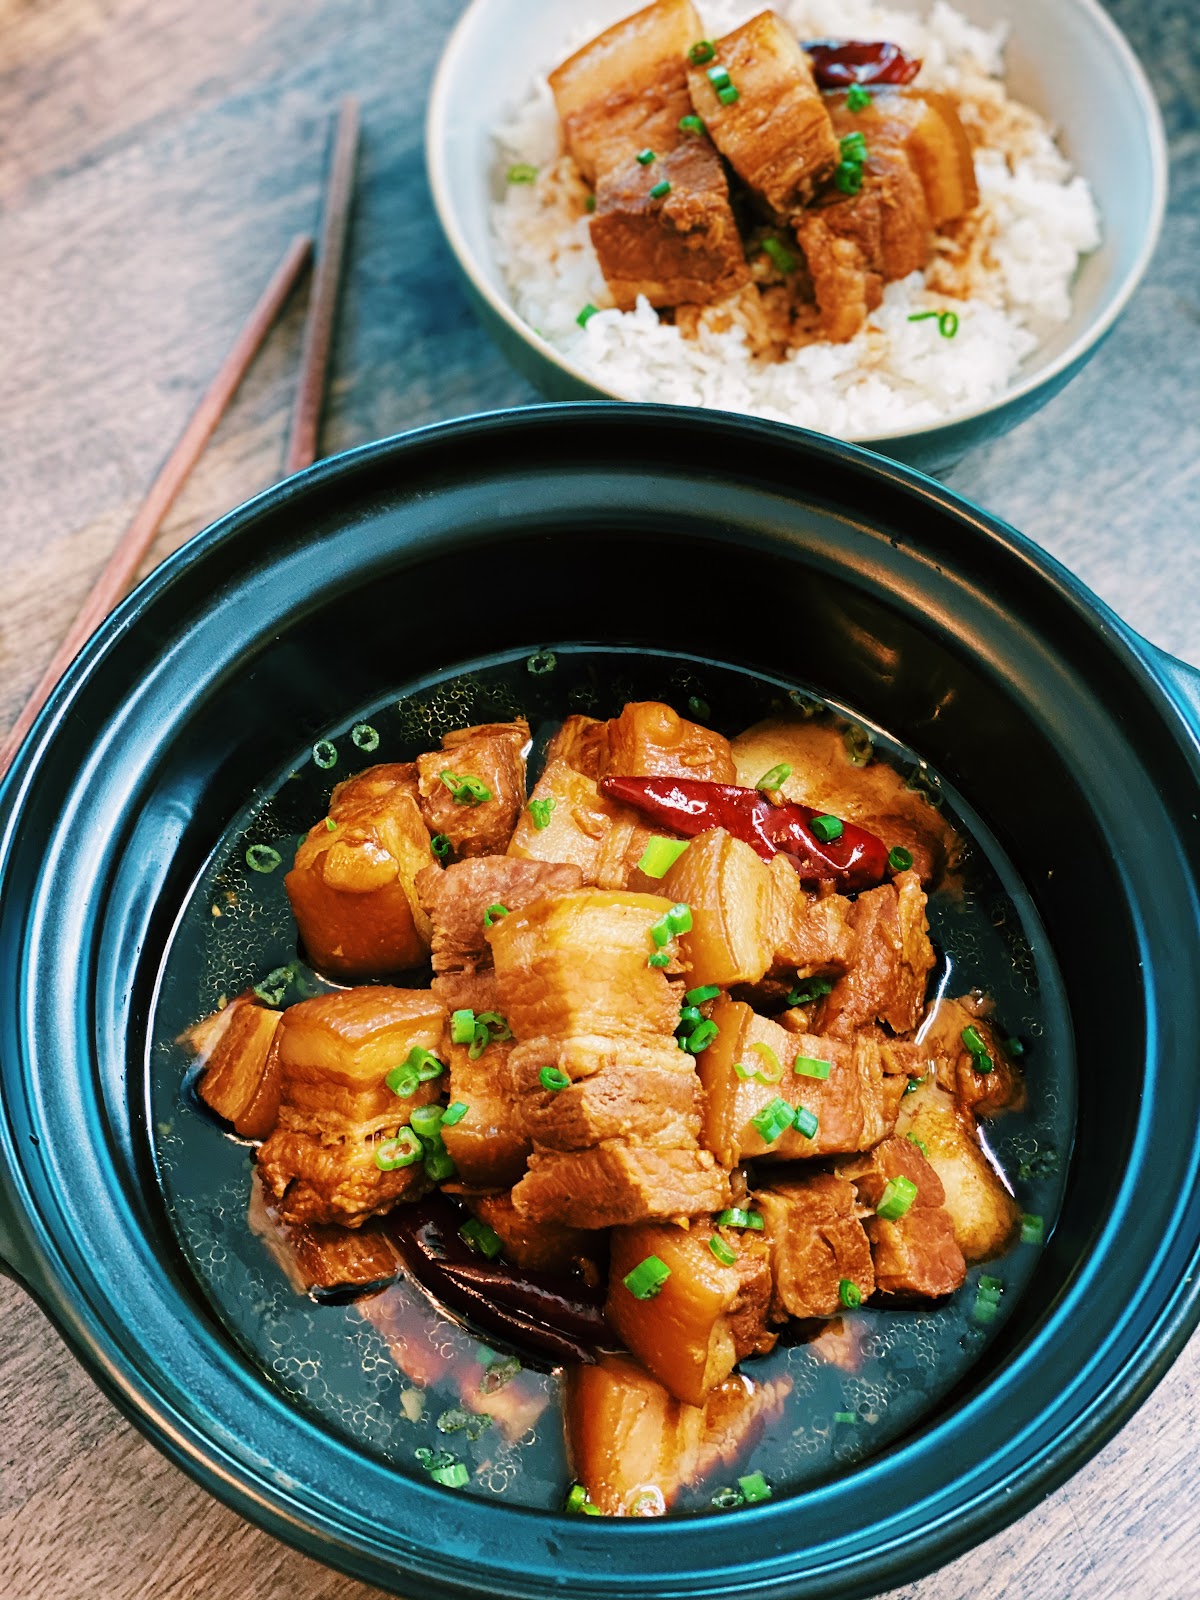
How To Make Taiwanese Braised Pork Belly In Instant Pot
- Cut the pork belly into 1-inch pieces. Add the pork belly to a pot filled with water and turn the heat up to medium-high. Let it cook for 3-5 minutes and rinse with cold water. Drain the pork belly and set it aside.
- In an Instant Pot, add Pork belly, ginger, garlic, green onion, cinnamon stick, star anise, whole red chili, soy sauce, dark soy sauce, brown sugar, Chinese cooking wine (optional), and ¼ cup of water. Mix everything
- Put the lid on and set it to pressure cook for 25 minutes.
- Pair with rice and garnish with green onion.

Taiwanese Braised Pork Belly made in an Instant Pot
By Tiffy Cooks
Equipment
Ingredients
- 2.5 lb Pork Belly
- 4 thin slices of Ginger
- 10 cloves Garlic smashed
- 2 Green Onion
- 1 small Cinamon Stick
- 4 Star Anise
- 5 Red Whole Chili
- ¼ cup Soy Sauce
- ¼ cup Dark Soy Sauce
- 4.5 tbsp Brown Sugar or Rock Sugar
- 3 tbsp Chinese Cooking Wine optional
- ¼ cup Water
Instructions
- Cut the pork belly into 1-inch pieces. Add the pork belly to a pot filled with water and turn the heat up to medium-high. Let it cook for 3-5 minutes and rinse with cold water. Drain the pork belly and set it aside
- In an Instant Pot, add Pork belly, ginger, garlic, green onion, cinnamon stick, star anise, whole red chili, soy sauce, dark soy sauce, brown sugar, Chinese cooking wine (optional), and ¼ cup of water. Mix everything
- Put the lid on and set it to pressure cook for 25 minutes.
- Pair with rice and garnish with green onion.






This was DELICIOUS. Tip if you like thicc sauce, I mixed cornflour and water then poured into the mixture to thicken at the end
This was great! We used the sauté function to reduce the sauce more at the end, so that it would cling more. Yum!!! Thanks!
This recipe was AMAZING. The pork belly is literally melt in your mouth perfections and the flavors remind me of being back HOME. I think the only thing I would change is pressurize for less time because I like my pork belly a little more firm, but still amazing spot on flavors! Thanks tiff!
Can’t wait to try it! How do I adjust the recipe if I just use stovetop?
Hi Kania! I’ve got a stovetop recipe for this beef noodle soup as well! https://tiffycooks.com/taiwanese-beef-noodle-soup-authentic-family-recipe/
After cooking do I quick release the remaining pressure?
Hi Jenny, Yes, quick release is fine!
Tiffy
What a phenomenal recipe! I was shocked how easy it was to follow, how quick it was to make, and how incredibly delicious it tasted! I subbed out a few ingredients but they worked very well, thankfully! After the meat was cooked to fork tender, I removed it, poured out the sauce, put the meat back in the pot and browned it all sides. Then removed the meat, poured the sauce back in the pot, and thickened it with a cornstarch and a homemade ckn broth slurry.
Served it with rice, and green onions and roasted turban squash from our garden! Such a satisfying meal on every level! Thank you for this recipe, and the Sticky Pork Belly recipe, which was wonderfully inspiring, too!!
I LOVE this recipe and make it a lot. Today I had some stewing beef and tried it with your sauce and it was spectacular! I first added beef tallow to the instant pot then added the beef pieces and sprinkled on chickpea flour and let it cook about 4minutes. Then I added a wee bit of water and scraped the fond off the bottom of the pot. Added your sauce and covered the instant pot. 20minutes later and slow release it was done. I served it on ramen noodles with roasted green beans and it was fantastic. Actually I think it’s the BEST meal I have ever made. Thank you for sharing your recipe 💕