How To Start A Blog That Makes Money!
In 1 hour, let’s start building a blog that makes money! Starting a blog was the best decision I’ve made when becoming a Full-time Food Blogger! Not only does it provide a platform where I can share my recipes, but it also provides me with 40% of my monthly income. My blog has been the most stable income by far and has helped me make FIVE FIGURES a month for the past four months! I wanted to take a few minutes to show you how I set up my blog, so you can get started too!
Benefits of A Self-Hosted Blog
When I first started doing my research on starting a blog, I noticed the number one thing every blogger recommended was having a self-hosted blog. So, I want to quickly explain some of the benefits of having a self-hosted blog.
- Full Control: You get full control of your blog, like where to host and how to customize it.
- Monetization: Many Ad management companies such as AdThrive, Mediavine, and AdSense prefer self-hosted websites when applying.
- Custom Domain Name: A clean domain builds trust, looks professional, and is easier to remember.
- SEO Ranking: Self-websites are less affected by platform-wide SEO restrictions, and the traffic is not dependent on the platform.
Starting A Blog in Less Than 1 Hour
1. Choose A Host
A hosting provider is a company that stores your website content on its servers. A reliable hosting provider ensures your site runs smoothly and stays online. There are MANY hosting options available.
Recommended Providers:
- Bluehost: Affordable and beginner-friendly.
- SiteGround: Excellent customer support and performance.
- DreamHost: Flexible plans and good uptime.
For Beginners, Choose Bluehost
All 3 platforms have their benefits, but for beginners, I recommend starting with Bluehost as a beginner because it’s budget-friendly and perfect for the initial stages when your website traffic is still growing. It is only $4.95 a month. When you first sign up, you can get:
- FREE Domain Name for the 1st year (IMPORTANT)
- FREE SSL Certificate
- 1-Click WordPress Installation
It took me two years to switch to SiteGround after my traffic significantly increased, but I stuck with Bluehost for a while due to its affordability. Plus, their customer service is excellent!
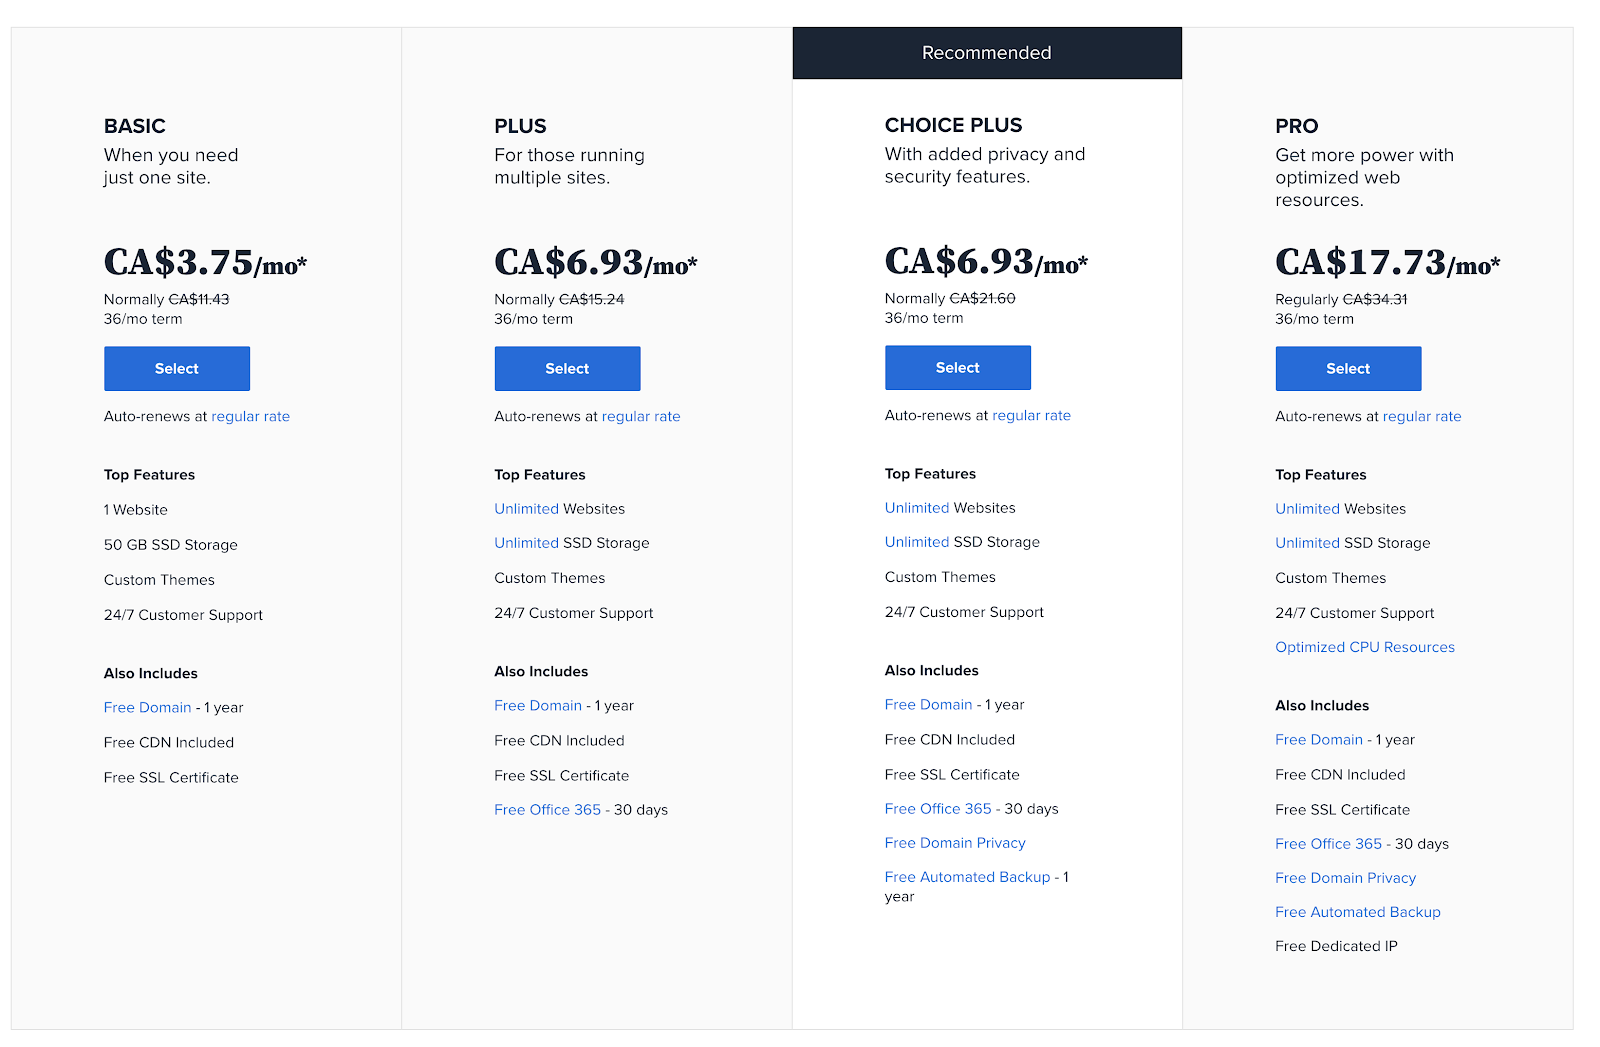
3. Set Up Hosting BLUEHOST
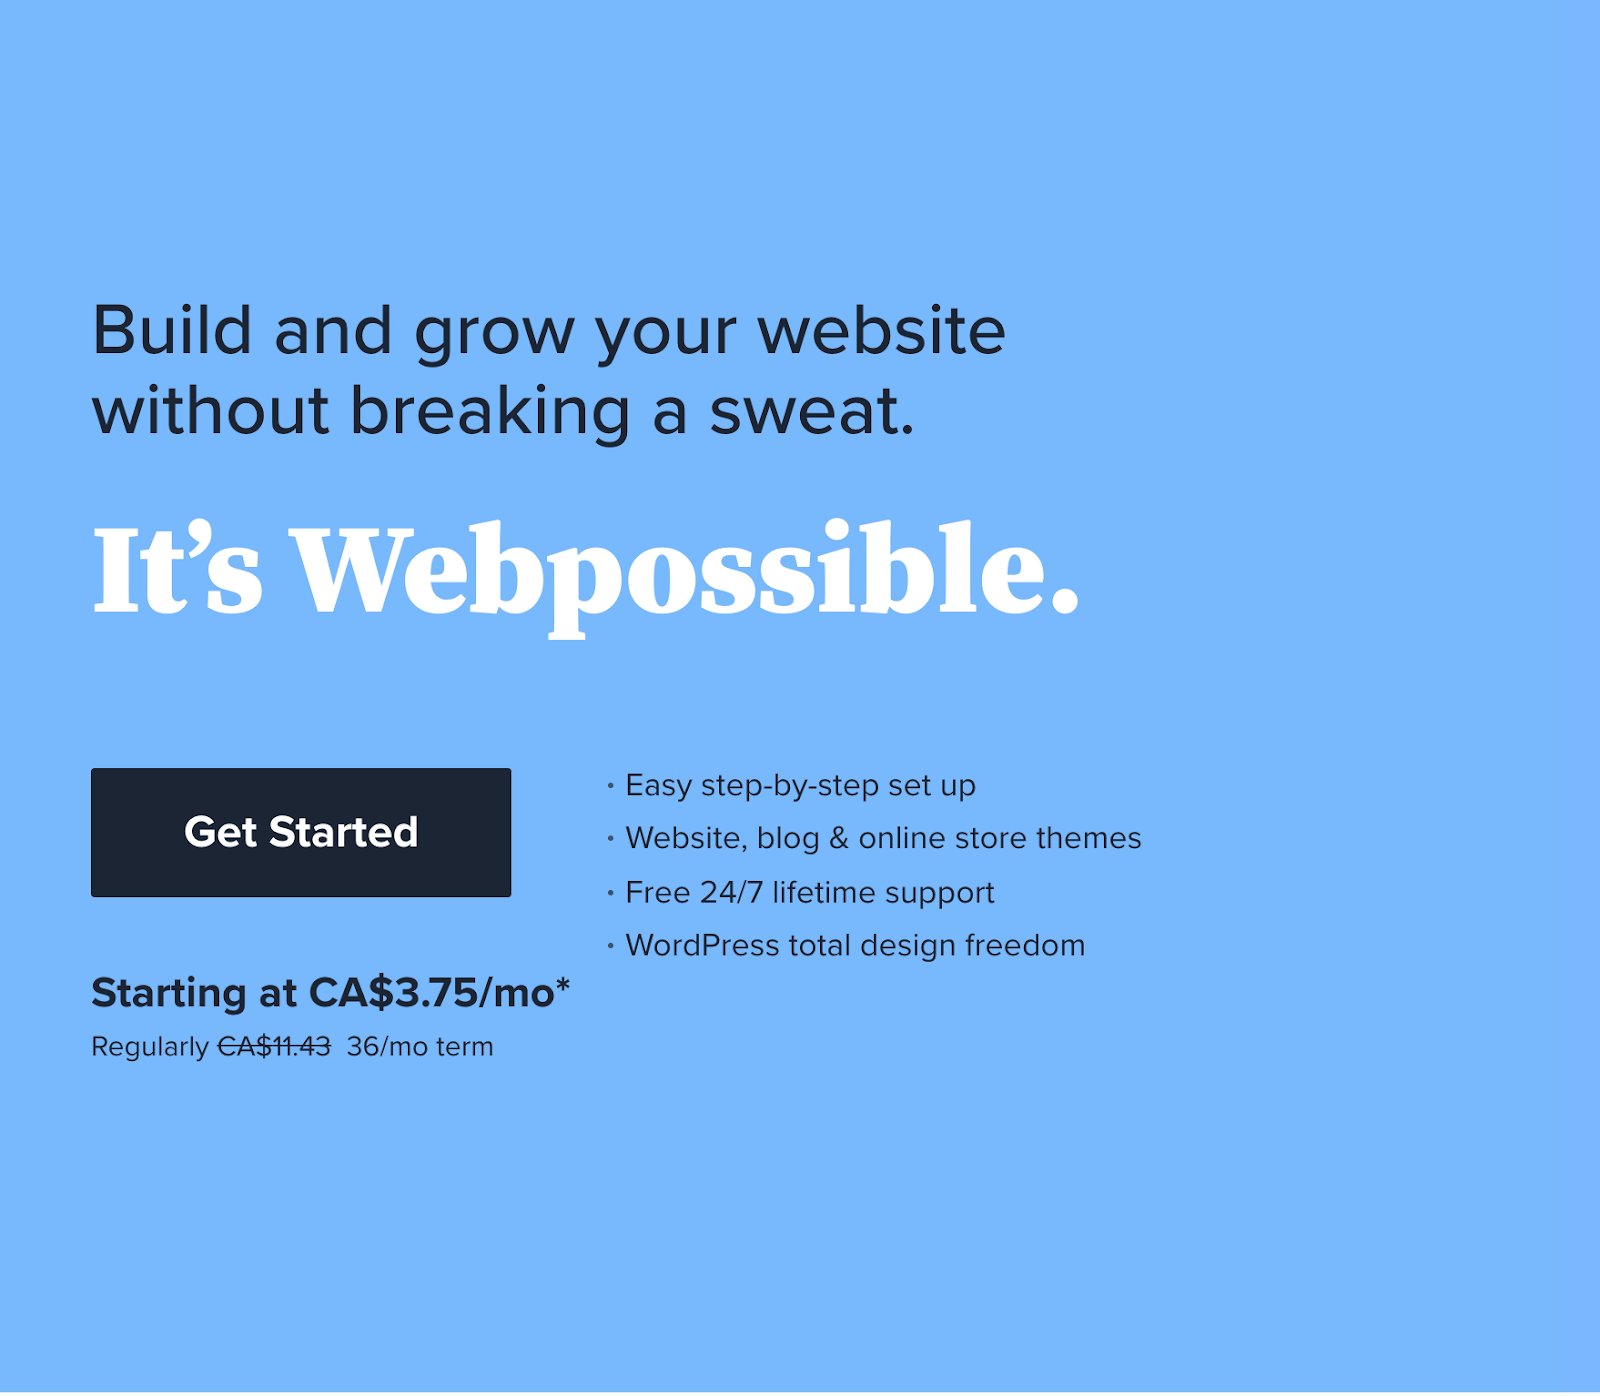
The next step is setting up your hosting. We’re using Bluehost as an example today, since that is the platform I started with. Go to Bluehost.com, and follow their instructions to set up your options.
If you are doing this part-time, you can start with just the simple plan, but if you plan on doing this full time, I recommend using the CHOICE PLUS option for your first year!
4. Pick A Domain
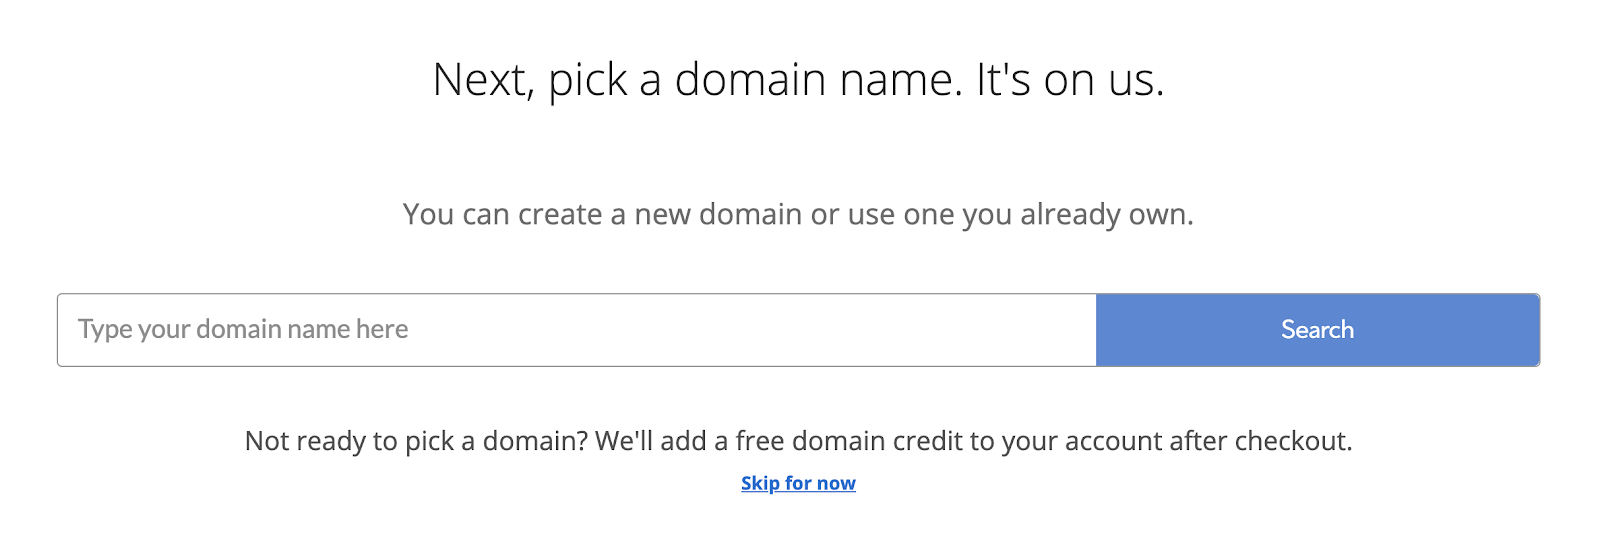
Once you choose your plan, Bluehost provides a FREE domain name. Make sure that your domain ends with .COM and you are choosing a domain name that is easy to remember!
If you are not ready to settle with a name yet, Bluehost also gives you credit to your account AFTER you checkout so you can think it through.
5. Complete Payment
Now, let’s complete payment to get your site running. Unfortunately, you cannot just pay monthly with Bluehost, and you have to choose between 12, 24, or 36 months upfront. I recommend picking the 12 or 24-month option.
I did the math with other hosting sites, and since it comes with so many free options and the monthly cost is so low, BlueHost is the most affordable option.
5. Download WordPress
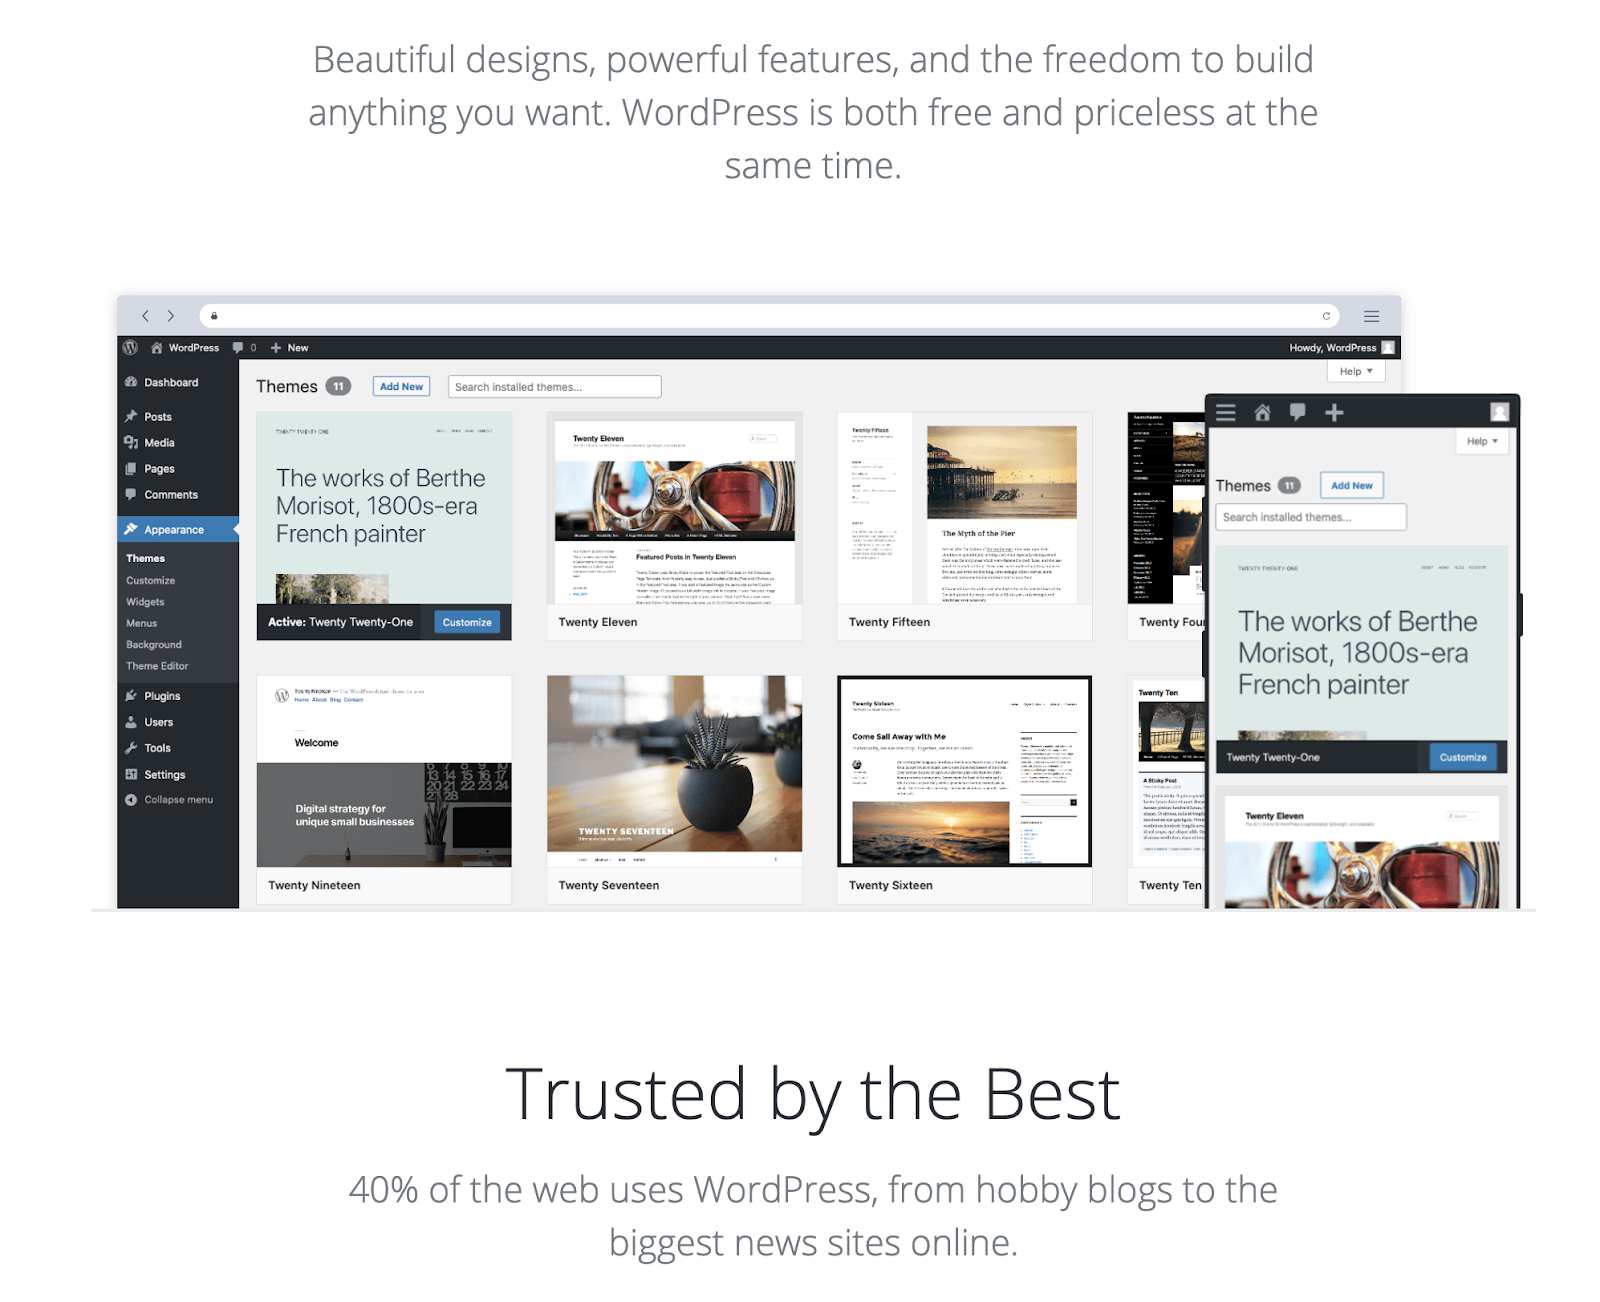
WordPress is a tool that helps you build a website without having to know programming by providing you with a more intuitive interface. More than 40% of blogs on the web use WordPress. It has limitless possibilities and plugins to customize your blog to your needs! I am currently using WordPress.org for my self-hosted website.
There are two “Wordpress” on the internet – wordpress.com, and wordpress.org. WordPress.com is a HOSTED platform, and is not the one you’re looking for. To have a SELF-HOSTED site, you must download WordPress from wordpress.org.
Download WordPress.org on your computer HERE. It is FREE, and this way, you can access your website anywhere, anytime!
6. Design Your Website
Ok, so not going to lie; WORDPRESS IS HARD. Compared to Wix and GoDaddy, it has a HUGE learning curve, and it is not as user-friendly.
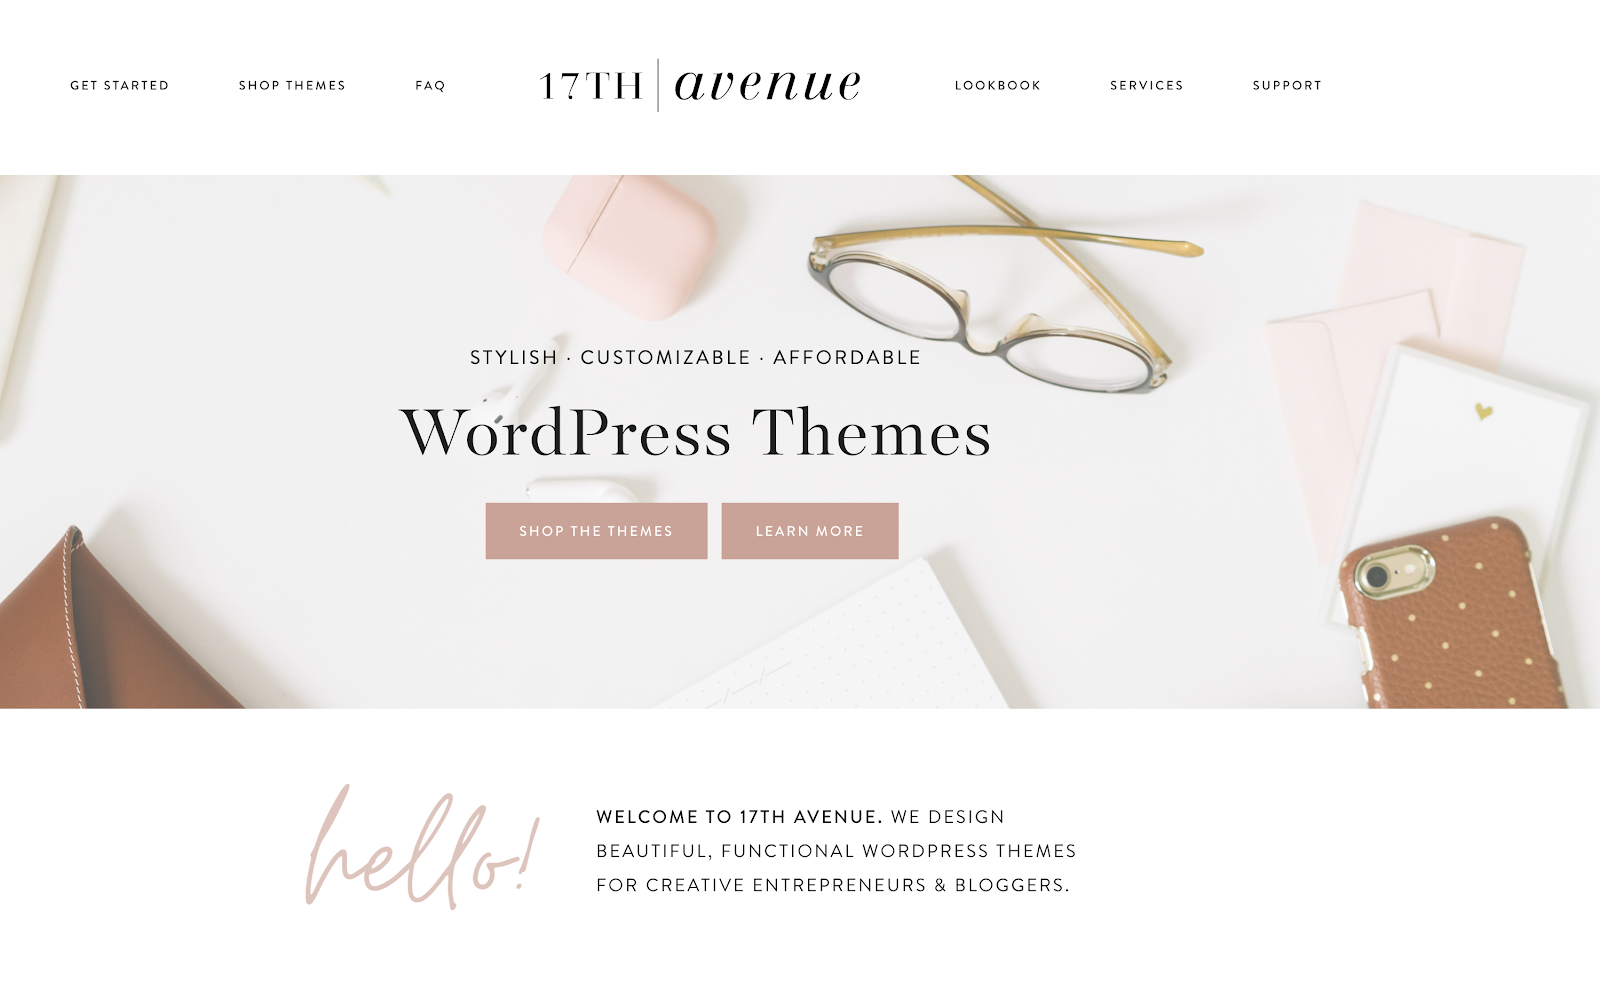
I started my blog too late, so I was in a RUSH. I wanted my blog to look professional, and I didn’t have time to design it slowly. So, I got my blog template from 17th Avenue Designs.
They have professional and cute designs, and it was straightforward to install them myself. You can also pay for them to install it for you as well! I am currently using the MIA Professional Theme myself.
There are also a lot of Etsy shops that sell templates, and WordPress also comes with a lot of FREE, easy to customize options. Buying a template is a MUCH more affordable and quick option compared to hiring a website designer.
Consistency: Key To A Successful Blog
Now that you have your blog, it’s time to start posting. When it comes to a successful blog, the most important tip I have is to STAY CONSISTENT!
I recommend posting at least ONCE a week and make sure that each post is HIGH QUALITY. As mentioned in my previous blog post – How I Make Money as a Full-Time Food Blogger, I treat my blog like a full-time job.
I dedicate at least 3-4 hours to each blog post, and I am continually taking courses, upgrading my equipment to invest in my blog. (Check out my favorite blogging courses and must have Plugins HERE)
I currently have a part-time contractor that supports me on my blog whenever I have IT issues, technical questions, or need large changes to my blog. I pay around $65/hour for this service.
And THAT’S IT! 6 simple steps to start a blog in less than 1 hour 🙂.
Love,
Tiffy