

My Personalized Korean Makeup Lesson in Seoul
I treated myself to a personalized Korean makeup lesson in Seoul with a celebrity makeup artist, and it changed the way I see my makeup routine. I’ve always loved Korean beauty products, but I never really knew which ones suited my face shape, skin tone, or style. This one-on-one K-beauty makeover walked through every step from skincare prep to custom makeup recommendations.
If you’re visiting Seoul and thinking about booking a Korean makeup class, here’s what it’s really like, and why I wish I’d done it sooner.
Hey there! Just so you know, some links on this page are affiliate links. That means if you click and buy something, I earn a tiny commission, at no extra cost to you. It’s a great way to support Tiffy Cooks and keep our kitchen cooking. Thanks for the love!
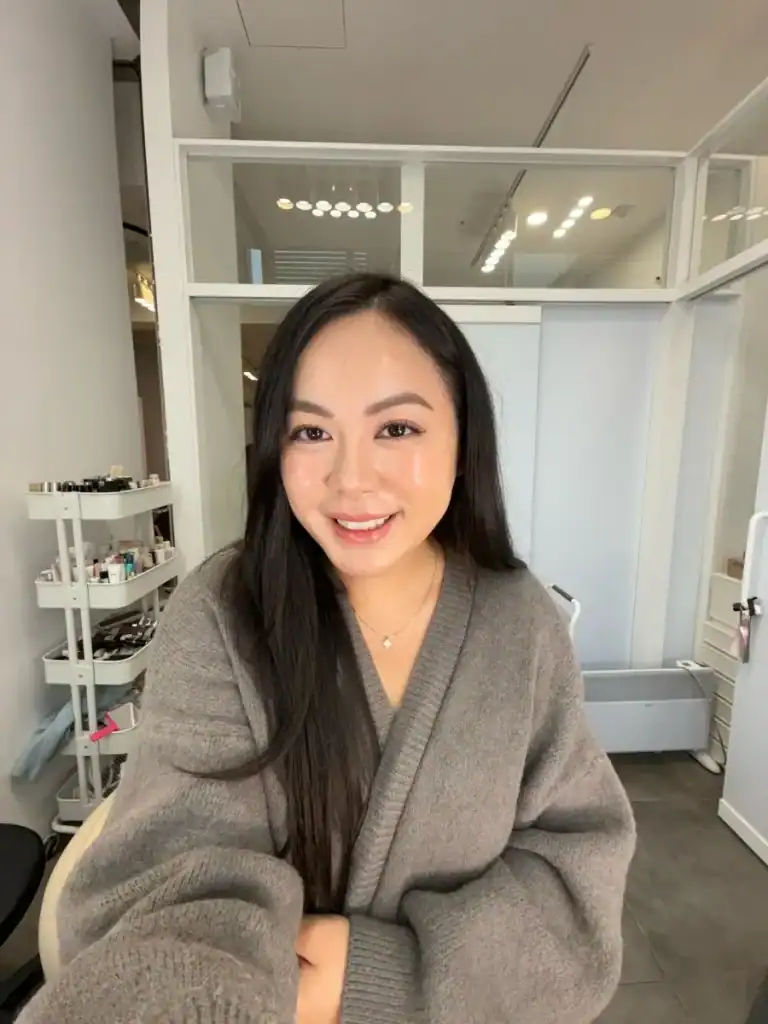
Korean Celebrity Beauty Makeover
Celebrity Makeup Lesson In Seoul
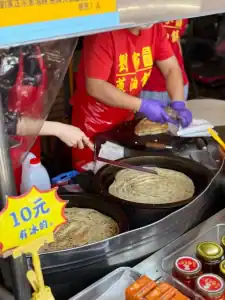
It’s my first time in Korea, and I’m doing everything my local Korean friends suggested, from cafe hopping all over Seoul to eating everything at Gwangjang Market. Plus, we’ve tried some of the best traditional Korean meal we can find around town!
Of course, another must-do thing that Korea is famous for are their beauty and salon services. I’ve been doing the same makeup my whole life, so this time, I really wanted to switch up my techniques with a little K-beauty. So, I decided treat myself to an everyday makeup lesson. Not just with anyone – but with a professional makeup artist who has actually done makeup looks for so many Korean celebrities.
Hyemin Makeup Session
Today, we’ve booked an 1-on-1 everyday makeup lesson appointment with Jungnam Salon’s vice director and professional makeup artist. Besides makeup classes, she also does celebrity and wedding makeup.
Each lesson is about 1-2 hours depending on your personalized steps. My specific service was about 330,000 won, with hair styling included. To book, you can contact her via Kakao Talk or Instagram.

Jungnam
The makeup lessons are held at Jungnam, which also offers other salon services like hair cut, hair coloring, wedding makeup, and more. The lessons are held in individual vanity cubicles packed with all sorts of skin care and makeup product, so you can enjoy your makeover in privacy.
Jungnam is located in Gangnam, fairly close to our hotel. Appointments are booked through Kakao Talk, so all you have to do is click the link and follow their chat process.
My Personalized Routine
For today’s lesson, I requested a new natural daily routine that fits my features. We went through a full routine from start to finish, starting with skin care. Here’s the order she taught me:
- Skin prep: Hydrate and layer skincare so your makeup goes on smooth and stays all day.
- Base makeup: Even out your skin tone with a light, glowy layer (like BB cream or cushion).
- Brows, eyes, lashes: Soften the brows, add a light eye look, and lift the lashes for a bright, youthful feel.
- Foundation and concealer: Lightly touch up just where you need extra coverage.
- Blush, contour, lips: Add natural color and gentle shaping to bring life back to your face.
- Final touches: Blend everything together, add any last bits of concealer, and set the makeup.
She didn’t use Korean products for every single step. In fact, some of the brands she used are also popular in the US and in Canada. However, most of them are available at Olive Young.
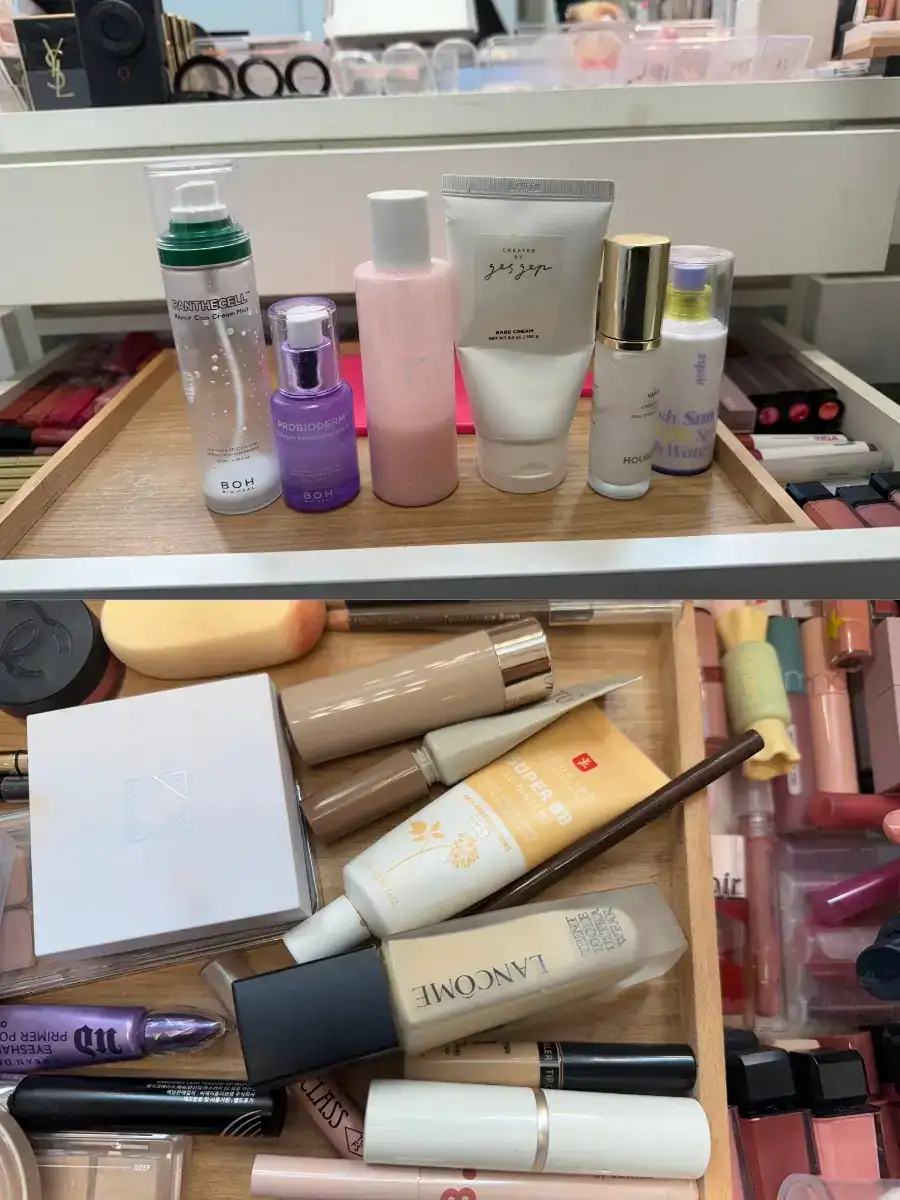
1. Skin Prep
I’ve always struggled with dry skin. Right away the biggest thing I noticed was how much time she spent on my skin prep. Everyone’s skin is different, but prepping the skin will ensure everything else stays on. Thanks to her prep, my skin has never felt more moisturized and glowy!
The session starts with a face mask, and then she layers in a face mist, serums, and a hydrating cream. She finished up with a primer and some super-light sunscreen. This creates a smooth glowy base naturally by hydrating your skin and applying SPF before any makeup goes on.

Bioheal Panthecell Repair Cica Cream Mist
Bioheal Panthecell Repair Cica Cream Mist was used right after the mask to calm the skin and add a boost of hydration before layering on other skincare.

Bioheal Probiodrm Collagen Remodeling Serum
Bioheal Probioderm Collagen Remodeling Serum came next to plump up the skin and smooth texture. It helps reduce pores and increases elasticity in your skin.

Anua Peach 77% Niacin Conditioner
Anua Peach 77% Niacin Conditioner is a milky lotion that contains Hyaluronic Acid, Ceramide, Panthenol, Niacinamide, and Vitamin B12 that absorbs quickly to help skin stay hydrated.
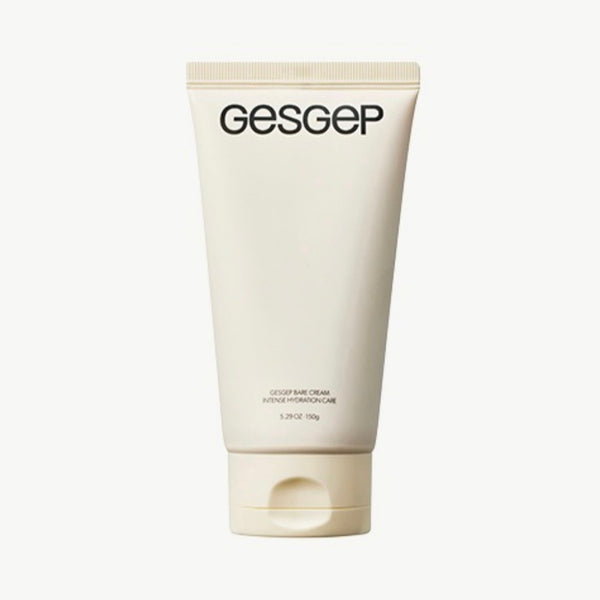
Ges Gep Bare Cream
She applied Gesgep Bare Cream as the final cream step to seal in moisture and help makeup stick better to skin without feeling greasy.
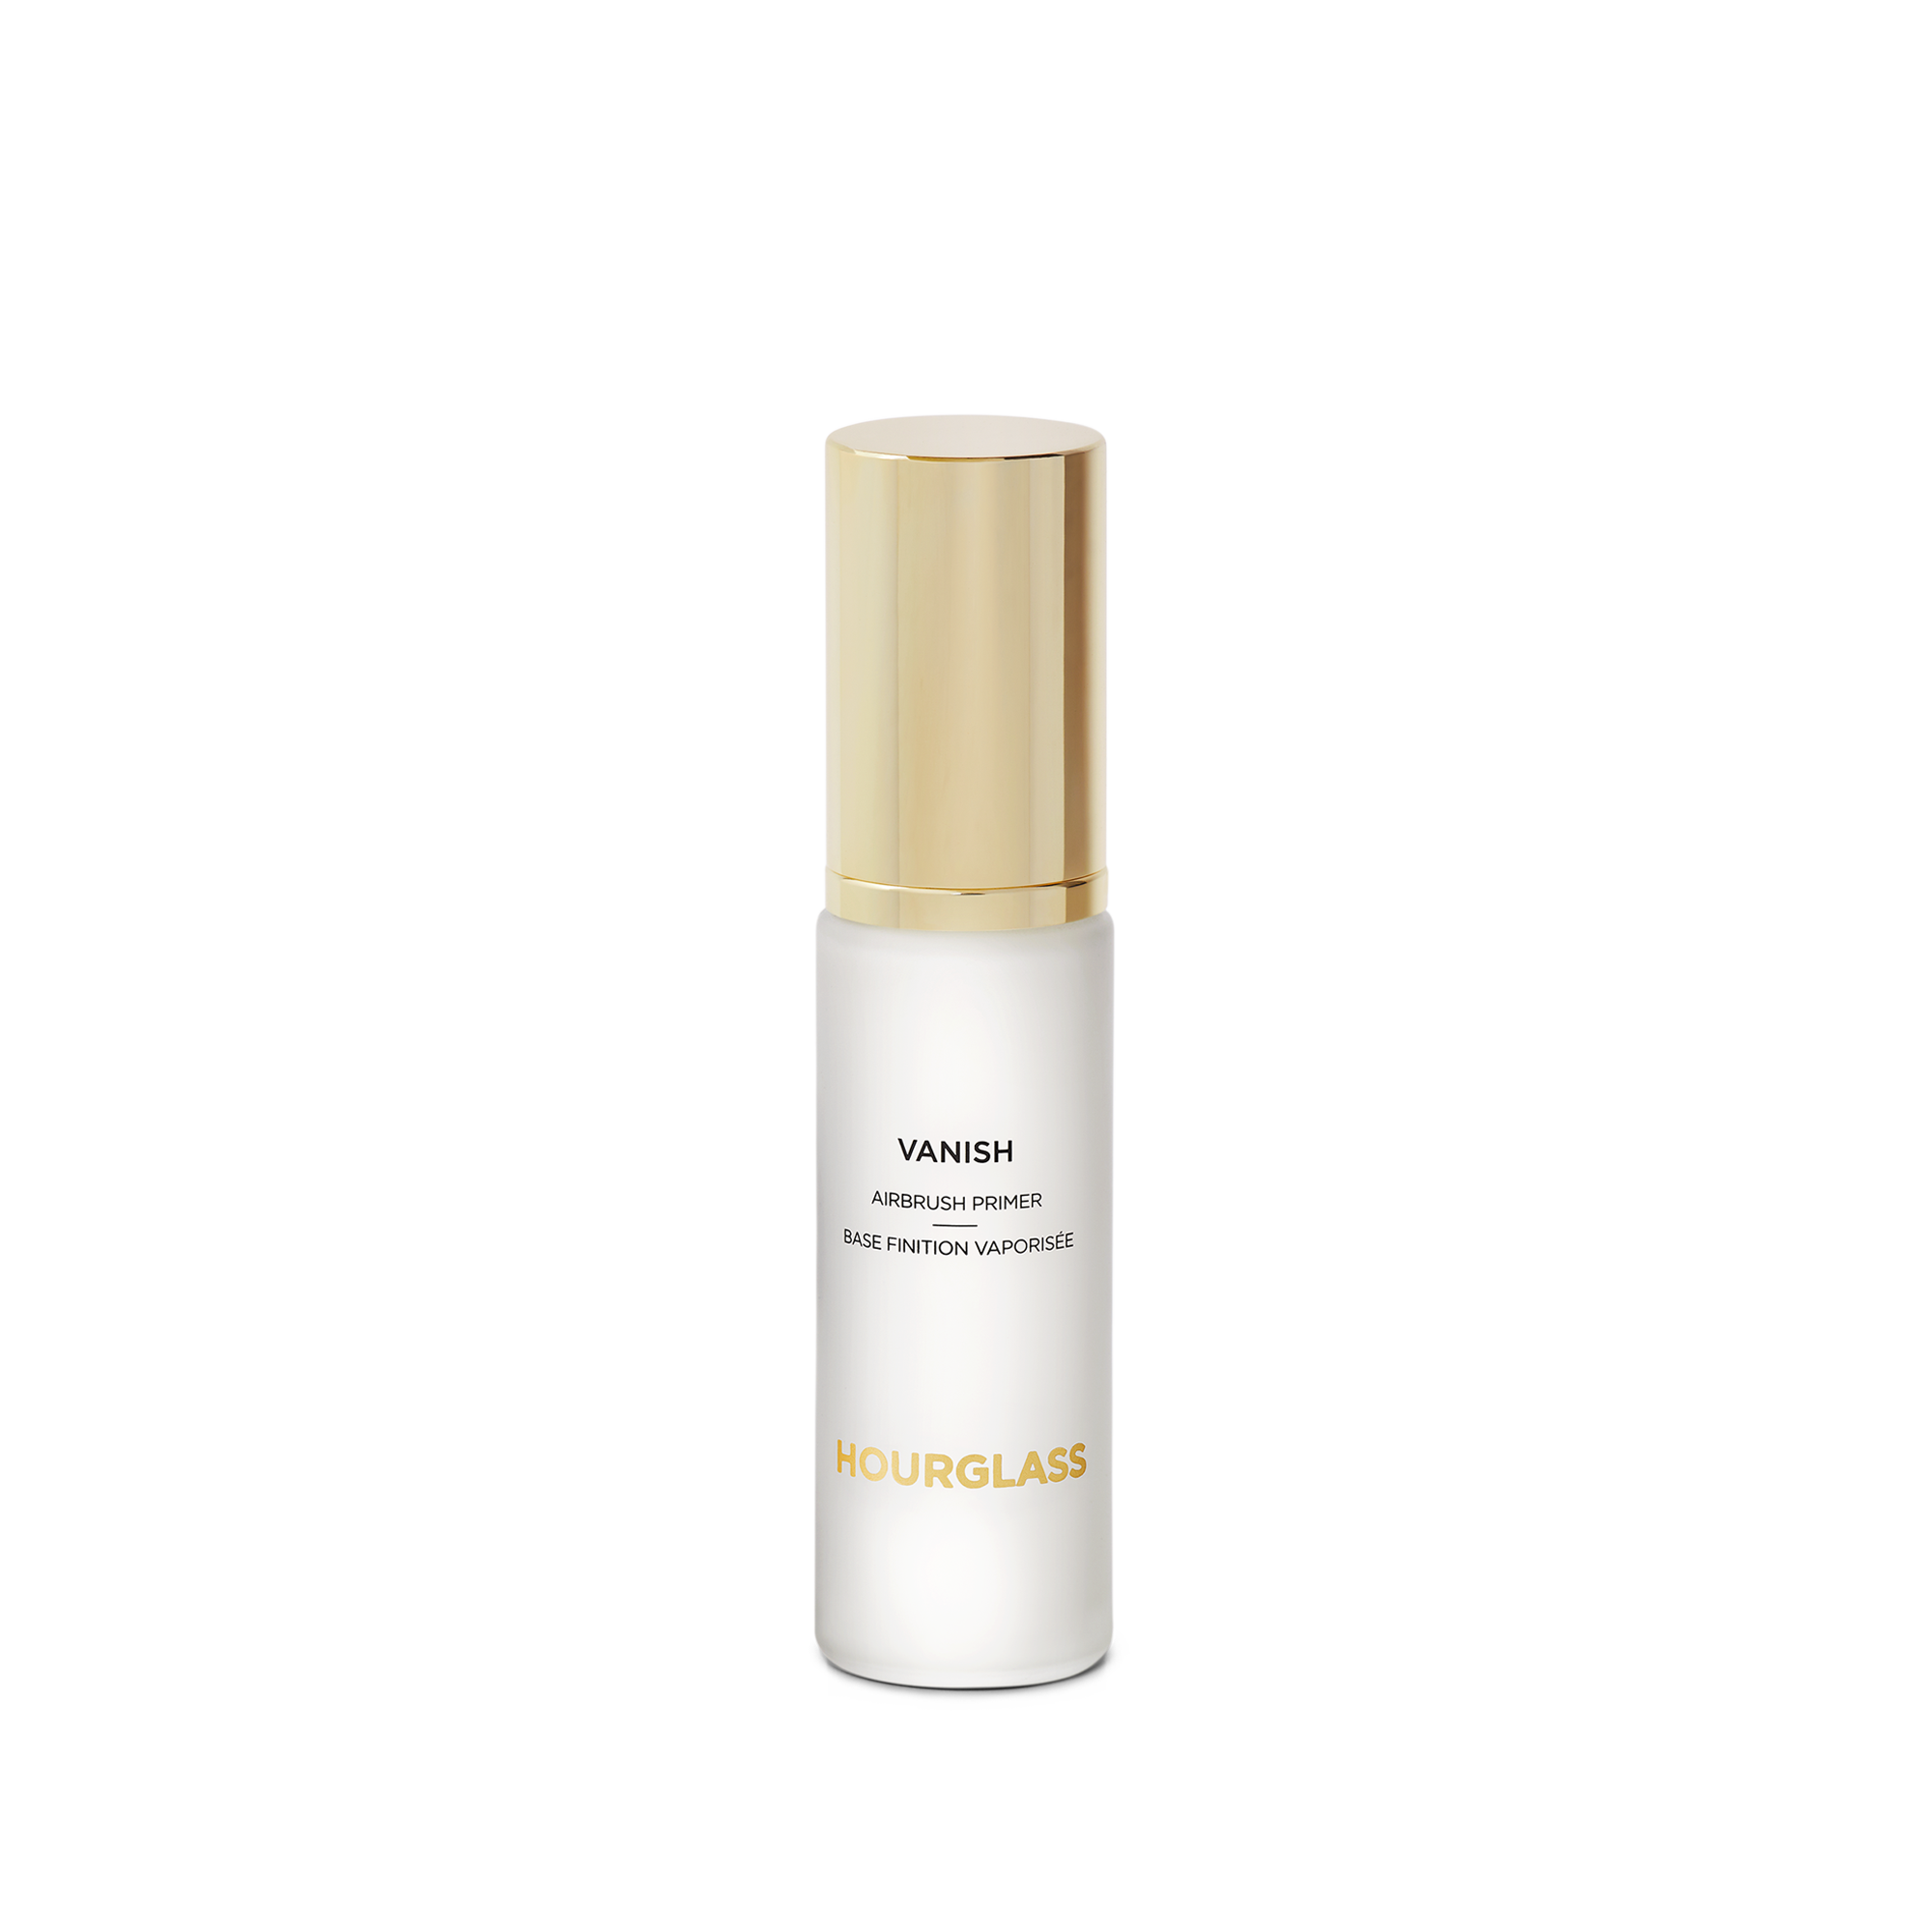
Hourglass Vanishing Airbrush Primer
Hourglass Vanishing Airbrush Primer is a translucent gel primer to blur pores, and evens out the skin’s surface right before base makeup.
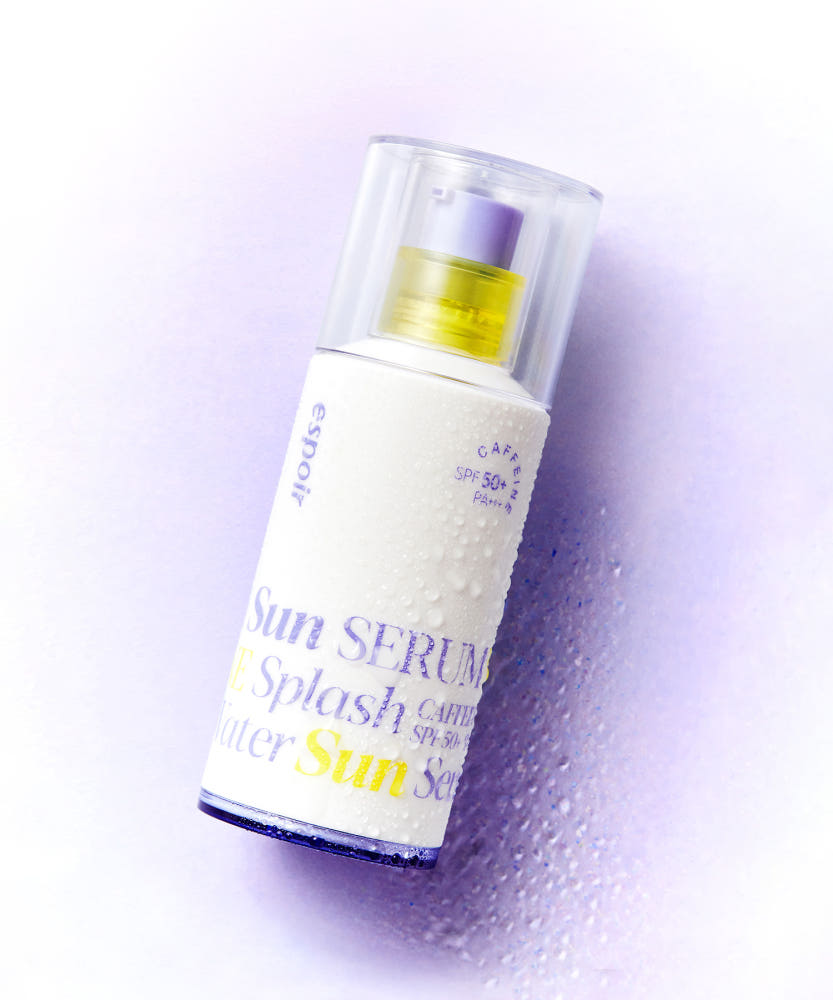
Espoir Sun Splash Water
Espoir Sun Splash Water was the last step before makeup. It is a is a super lightweight, serum-like SPF 50+ sunblock that also hydrates. It sits really well under base makeup!
2. Base Makeup
Next, she evened out my natural skin tone with some base makeup. I really love that instead of using a heavy foundation right in the base, she mixed a light BB cream with a little bit of highlighter to give a natural glow from within. It feels super lightweight!
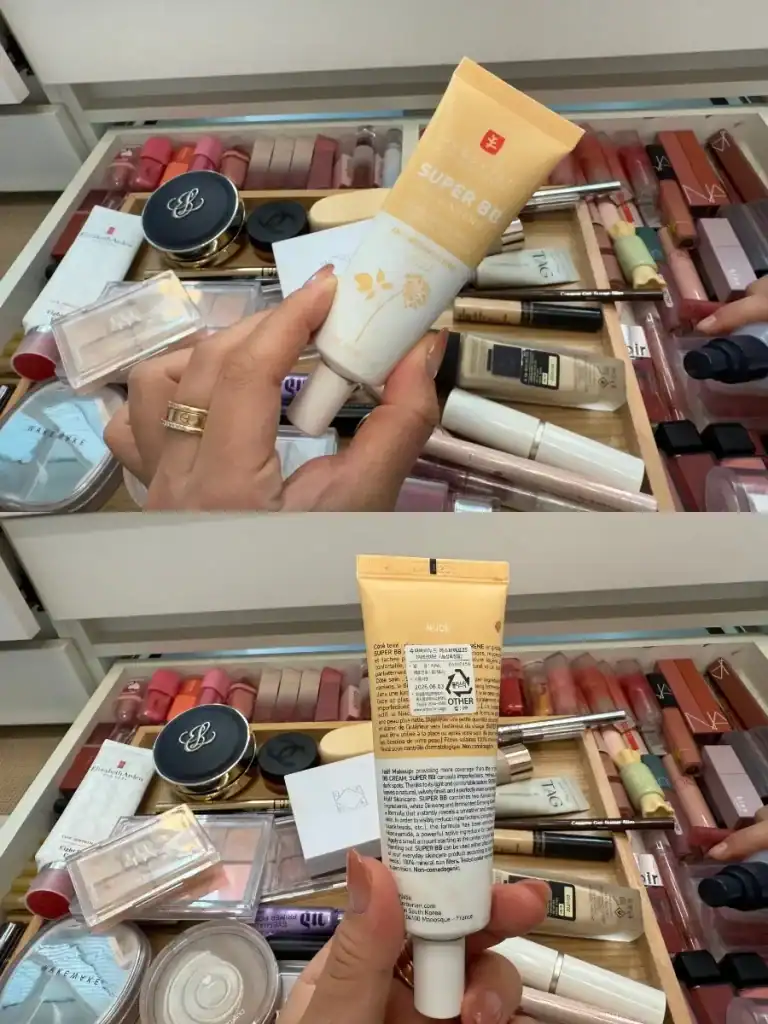
Erborian Super BB Au Ginseng
Erborian Super BB Au Ginseng is a medium-to-high coverage BB cream with SPF 20. She used the color Nude as the first base layer with highlighter mixed in. It evened out my skin tone while still letting my skin breathe.

OFRA Highlighter
The OFRA Highlighter is a pressed powder highlight that gives you a bit of a metallic glow. She mixed some of this highlighter into my bb cream to give me a glow from within.
3. Brows, Eyes, Lashes
For my eyes, she used the light, rosy-nude colors to softly build and define my natural eye shape—no heavy shadow, just subtle structure. She went lighter on the brows too, explaining that softer tones create a more youthful, gentle look compared to heavier colors. For lashes, she used the classic Korean trick: heating a stick with a lighter to curl them, then finishing with mascara for a clean, lifted effect without falsies.

Too Cool For School Art Class Frottage Pencil
Too Cool For School Art Class Frottage Pencil was used to softly define my eye shape—no harsh lines, just a creamy wash of subtle color using number 14 Peach Bloom to enhance the natural crease, lash line, and aegyosal.

WakeMake Lash Tension Up Mascara
WakeMake Lash Tension Up Mascara gave my lashes volume and curl without clumps, and held the lift the rest of the day. She used tweezers to arrange my lashes into smaller clumps after applying mascara.
4. Foundation and Color Correcting
After finishing the eyes, she spot corrected areas of the base with color correcting concealer and some foundations. She used very light touches using sponges in small areas, rather than covering the whole area with concealer and foundation.

Luna Conceal Blender Palette
LUNA Conceal Blender Palette is a multi-shade concealer and color-correcting palette. She used this palette to spot-correct before foundation, using super light, detailed touches.
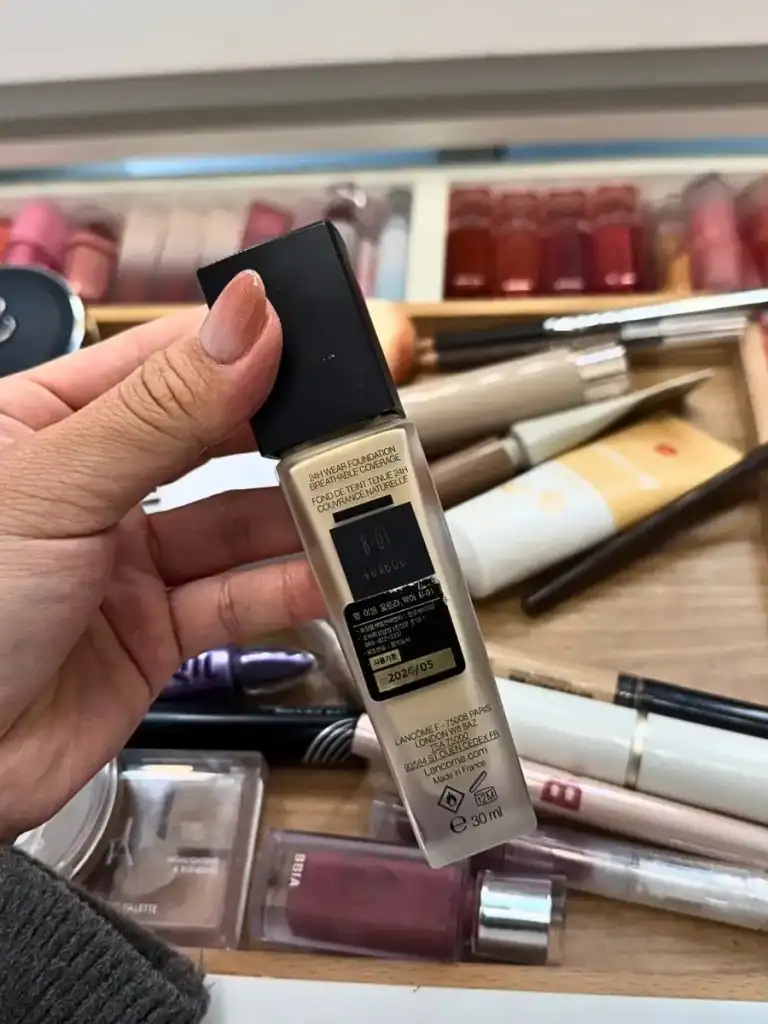
Lancome Teint Idole Ultra Wear
Lancôme Teint Idole Ultra Wear Foundation was applied in small areas for a smooth, long-lasting finish that didn’t look cakey; it gave just the right amount of coverage while letting the natural skin texture peek through.

Estée Lauder Second Skin Blur Cushion Makeup
Estée Lauder Second Skin Blur Cushion Makeup came in later for light touch-ups and blending. Using the shade “1W1 Bone”, she kept my skin looking fresh and luminous without adding heaviness.
5. Cheek, Contour, and Lips
Next, she contoured my face to give it a little more definition. The key isn’t to change your features entirely, but instead to enhance what you already have. Then, she added on cheek and lip color using the same product to give it a natural looking color.

Espoir Be Glow Stick Shading
Espoir Be Glow Stick Shading in Neutral Grey was used for precise contouring on spots like the nose bridge and jawline. It’s perfect for defining features in a clean, sharp way.
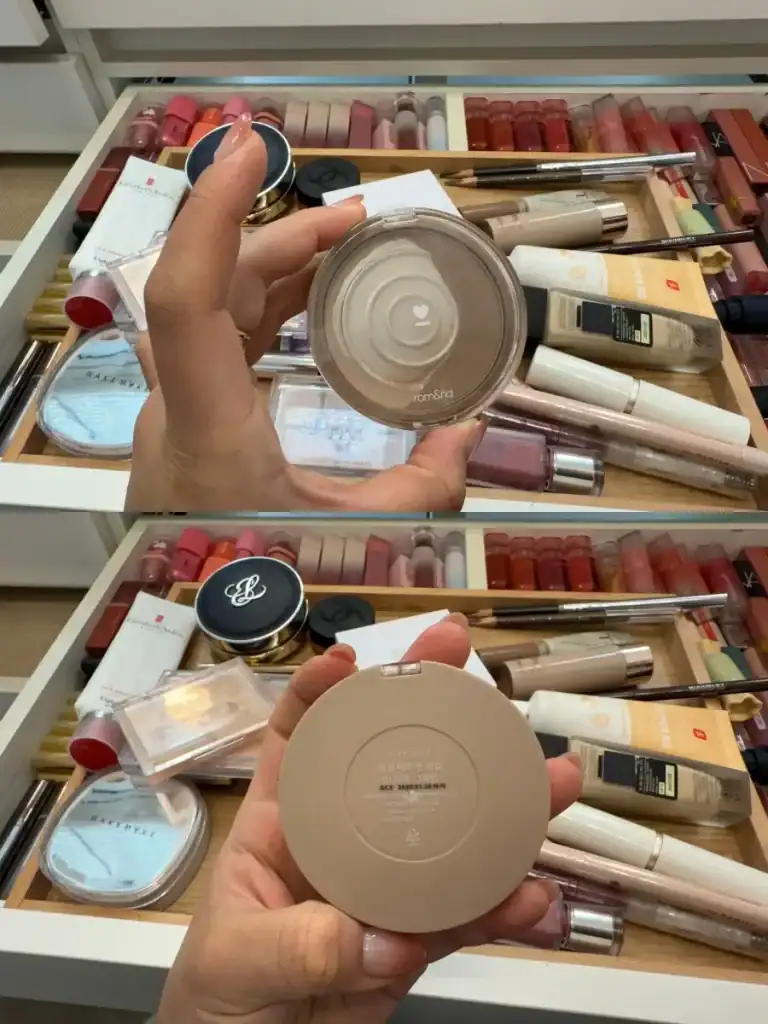
Rom&nd Better Than Shape Contour
Rom&nd Better Than Shape Contour was dusted on afterward to softly sculpt the face overall, especially along the cheekbones and temples. It also blends out the sharper lines from the cream contour.
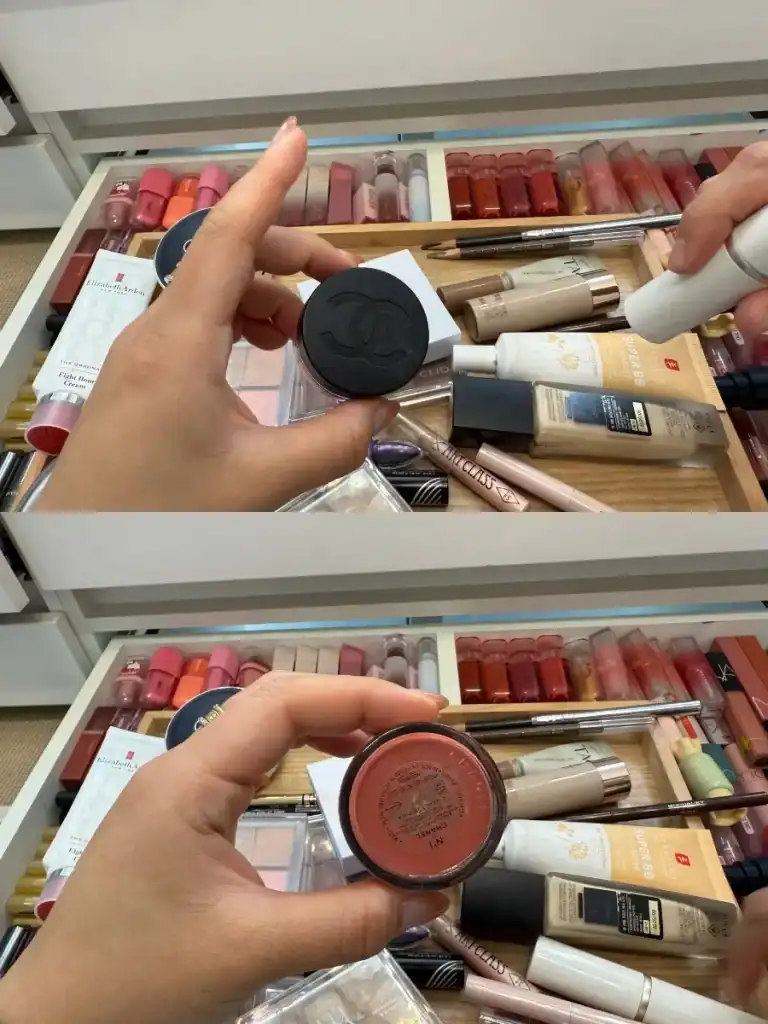
Chanel No. 1 Lip and Cheek Balm
Chanel No. 1 Lip and Cheek Balm in shade 2 Healthy Pink was dabbed onto both the lips and cheeks for a dewy, natural flush that tied everything together.
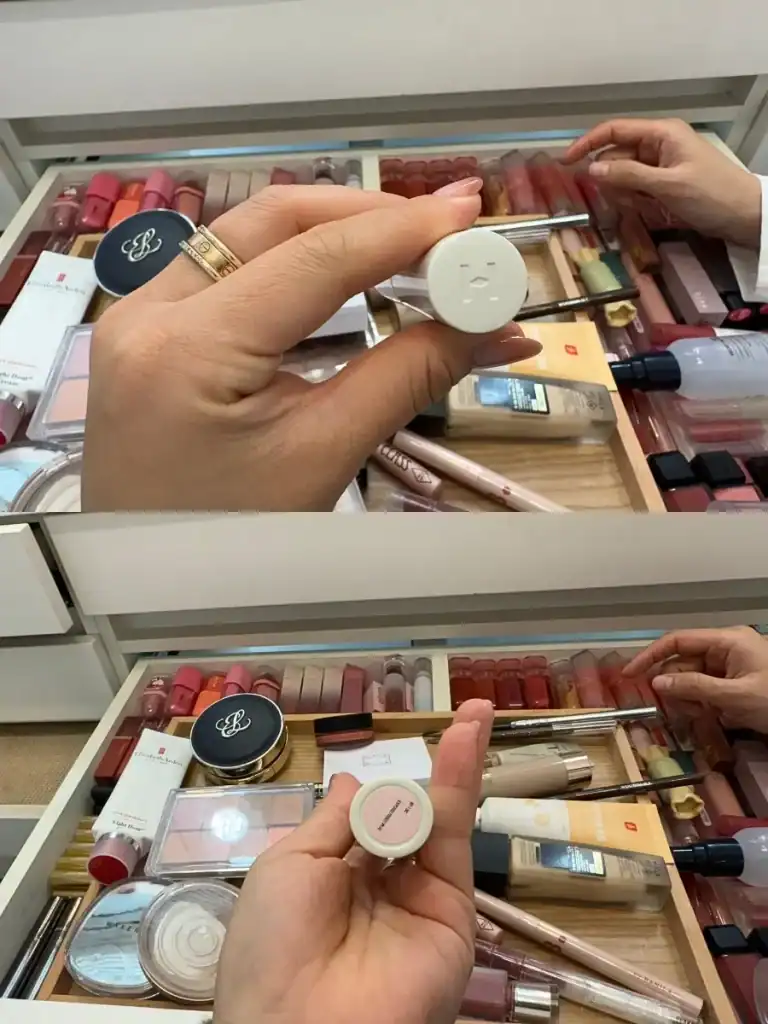
Hince True Dimension Radiance Multibalm
Hince True Dimension Radiance Multibalm added just the right amount of glow on the high points of the face. It’s a multi-purpose balm that adds a subtle, radiant sheen to the skin with a dewy finish.
6. Final Touches
Finally, she does another round of touching up blemishes with concealer. Then, she finishes the makeup by dusting with powder, then melting it in with a refiner spray. Finally, she locks everything with a setting spray.
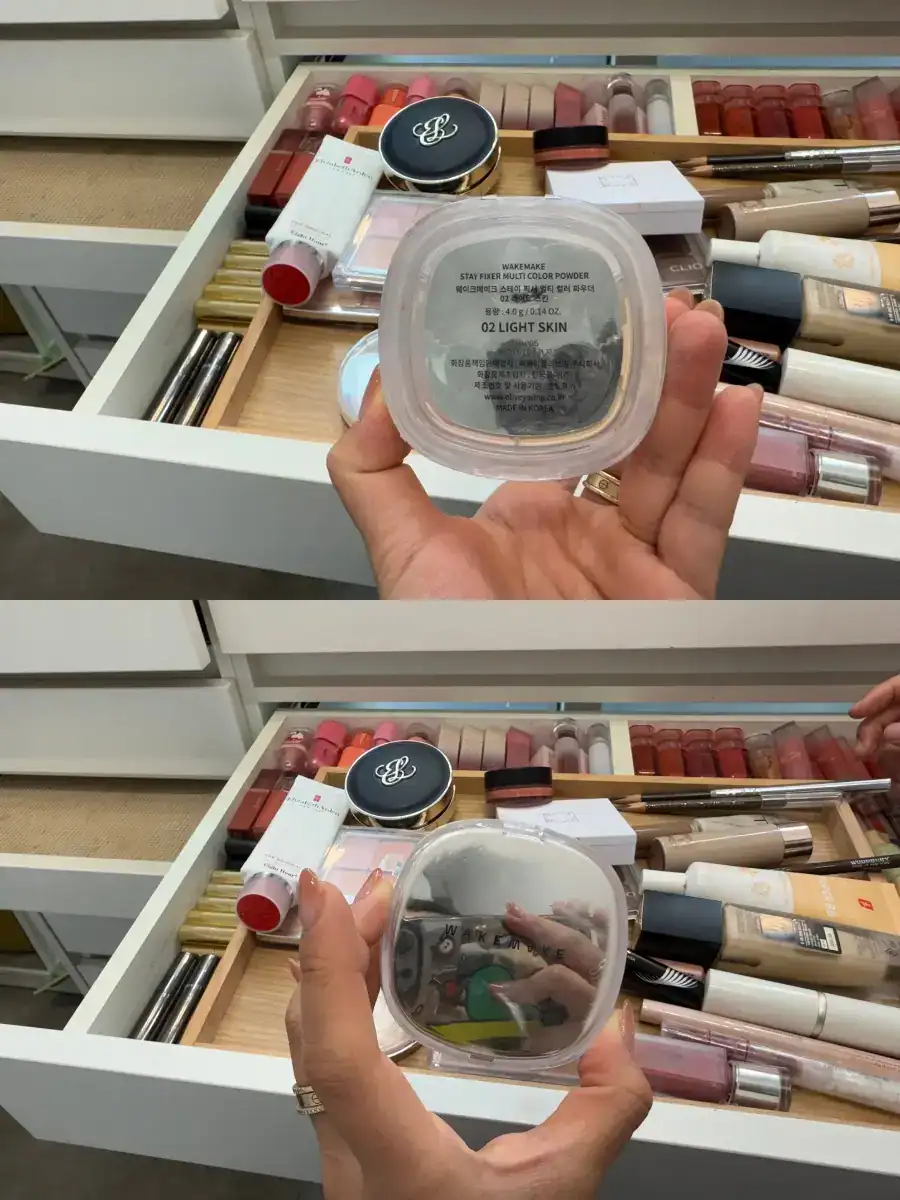
WakeMake Stay Fixer Multi Color Powder
She used the WakeMake Stay Fixer Multi-color Powder in 02 light skin, A setting powder with color-correcting pigments to neutralize redness and dullness while locking in makeup. This final step prevents that oily shine over time.
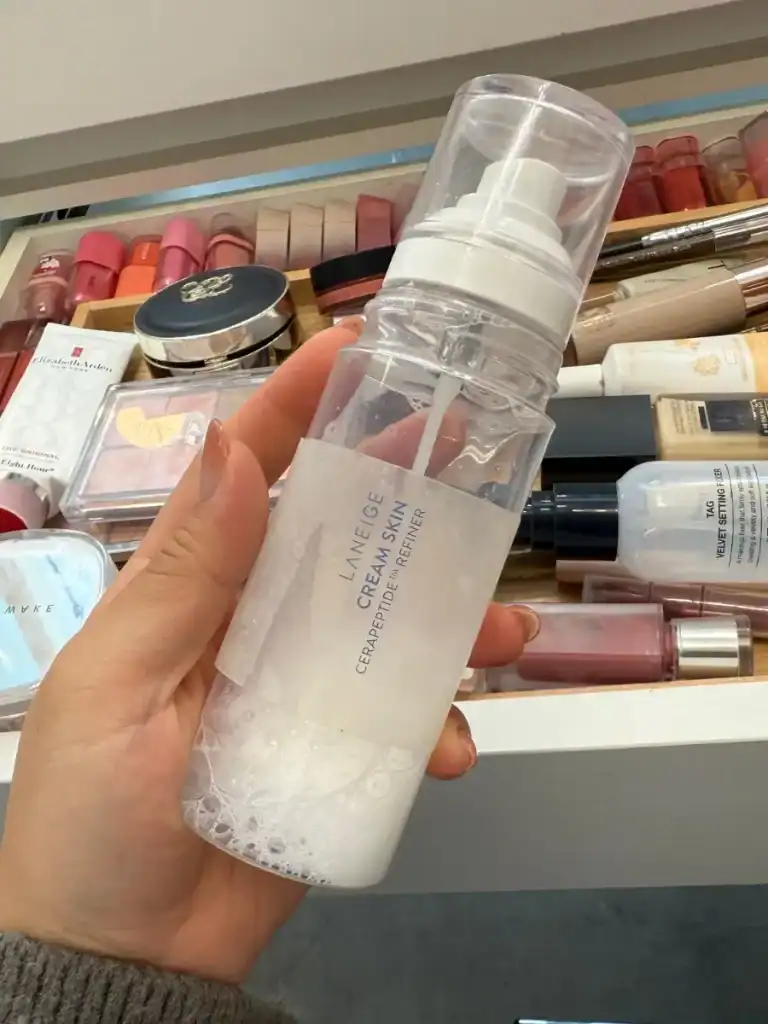
Laneige Cream Skin Cerapeptide Refiner
She uses Laneige Cream Skin Cerapeptide Refiner, a lightweight toner-moisturizer hybrid, after the powder to rehydrate and melt makeup into the skin. This keeps the makeup from looking dry or powdery.
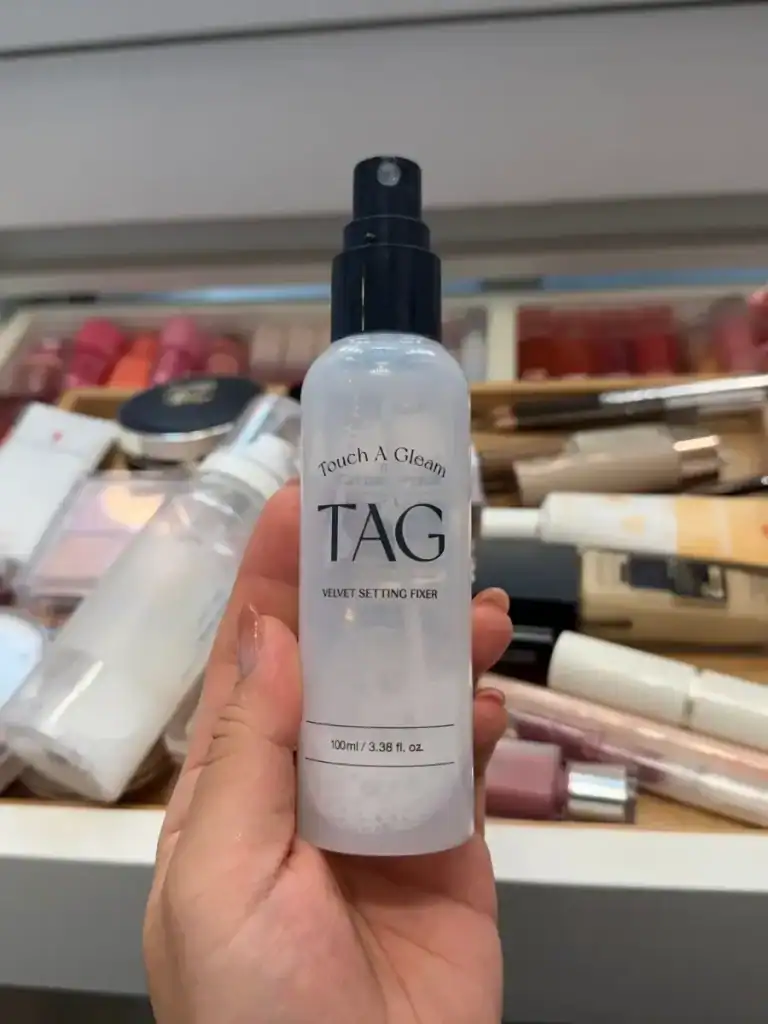
Touch A Gleam TAG Velvet Setting Fixer
Finally, she sets the whole look with Touch A Gleam TAG Velvet Setting Fixer spray, which locks in the makeup while keeping the skin velvety and hydrated. This spray also prevents the makeup from caking up over time.
My Results and Final Thoughts
I usually hate getting my makeup done because I feel like it doesn’t come out right. However, she did such an amazing job! Just watching her work was honestly my favorite part. Thank you so much to my friend Annie for recommending her makeup artist! This was such a fun experience and I learned so so so much. I absolutely recommend treating yourself to a lesson!
I wished I booked this experience at the start of my trip instead of at the end. She basically will build a custom makeup from start to finish for you. At the end of the lesson, she let me take a photo of every product she used so I can pick them out at Olive Young. I definitely went on another mini shopping spree right after this!

You Have To Check Out Everything I Ate in Korea!




You look amazing! Did you take a video of the session?
Hi Abby! Yes, check out the Korea travel video linked in the post, I filmed the whole process!
Tiffy
I’m interested in doing the lesson! Was it hard to communicate? Is it necessary to bring a translator? Does she give you like a note sheet of how to do your makeup?