

Make Your Own Vegan Kimchi At Home
A flavorful, allergy friendly homemade vegan kimchi recipe perfect as a side dish, topping, or snack! I swear we finish every batch of this napa cabbage kimchi so fast, we have to make another right away! This spicy, tart homemade fermented cabbage is a great way to add some probiotics into your meal at a super low price. If you’re struggling to find tasty vegan side dishes, or you just enjoy making kimchi at home from scratch like me, this Vegan Kimchi is the recipe for you!

Homemade Vegan Kimchi
Hey there! Just so you know, some links on this page are affiliate links. That means if you click and buy something, I earn a tiny commission, at no extra cost to you. It’s a great way to support Tiffy Cooks and keep our kitchen cooking. Thanks for the love!
Fermenting Your Own Vegan Kimchi
Making your own vegan kimchi isn’t difficult at all. All you have to do is prep the cabbage, make the seasoning paste, and combine! Then, if you have enough patience, your yummy jars of seasoned napa cabbage will sit and ferment into the most delicious vegan kimchi! Make sure to burp the jar and taste test daily.
Once fermented to your liking, transfer the kimchi to the refrigerator to slow fermentation. At this point, t’s ready to eat but will continue to develop flavor over time. The longer it’s in the fridge, the more complex that fermented flavor becomes. If properly stored, they can last up to a year.

Vegan Kimchi Ingredients
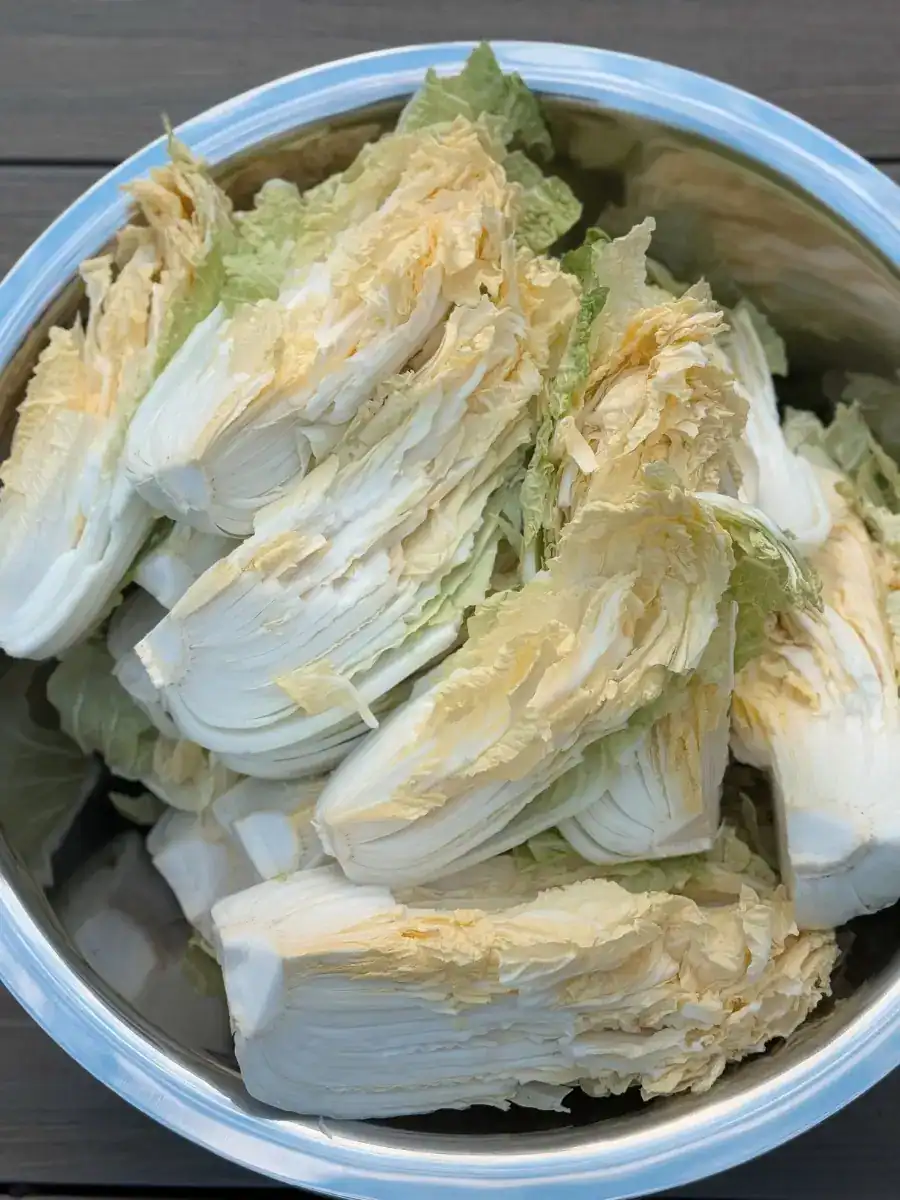
- 1 Napa Cabbage 3–4 lbs
- 1/2 cup coarse sea salt or kosher salt for salting the cabbage
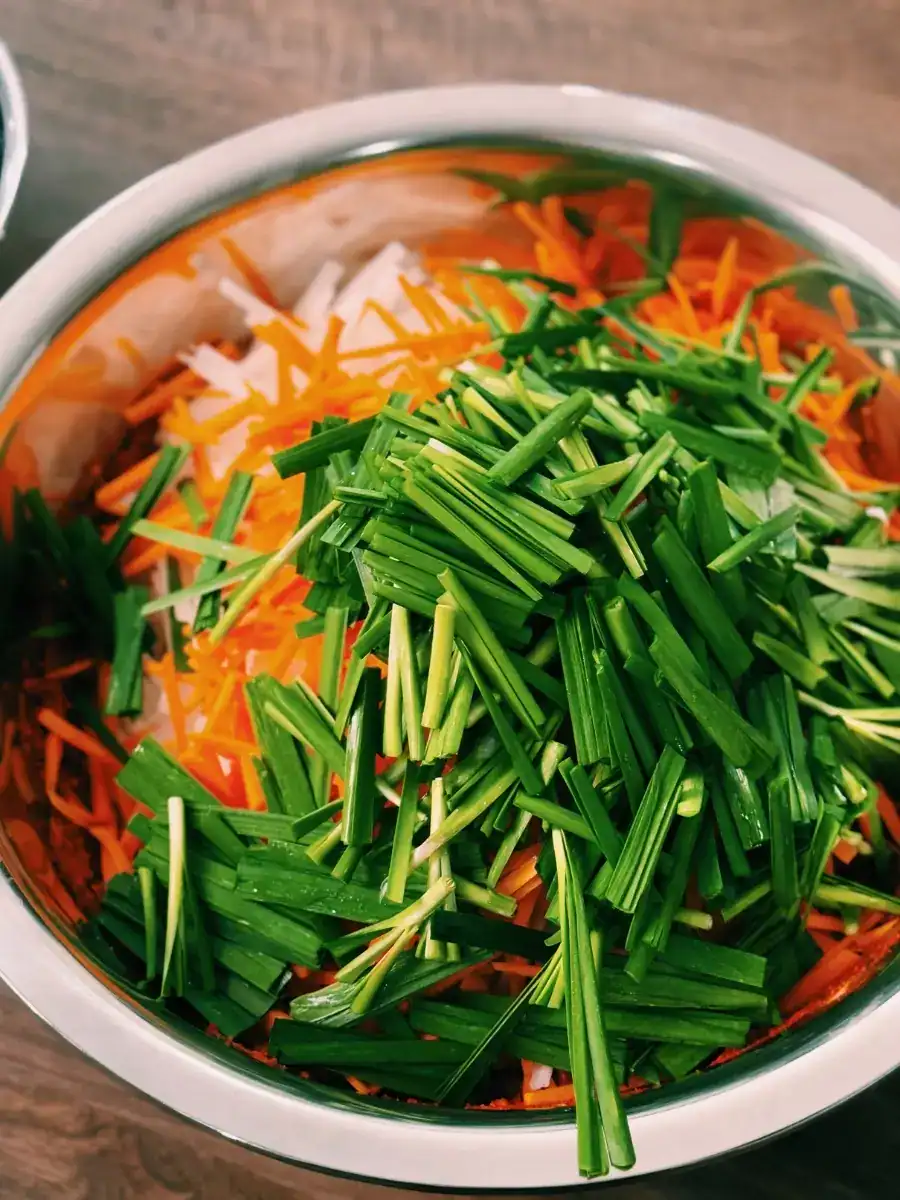
- 1 Carrot julienned (about 1 cup)
- 1 Daikon julienned (about 1 cup)
- 4-5 stalks chives or green onions cut into 1-inch pieces
Kimchi Paste
- 1 Asian pear or apple, peeled and chopped
- 1/2 yellow onion peeled and chopped
- 18-20 cloves garlic peeled
- 1 inch ginger peeled and chopped
- 1 cup gochugaru Korean chili flakes; adjust for spice level
- 1.5 tablespoons miso paste or vegan fish sauce optional
- 1/4 cup rice flour
- 1 cup water
Seafood-Free, Fully Vegan Kimchi Seasoning Paste
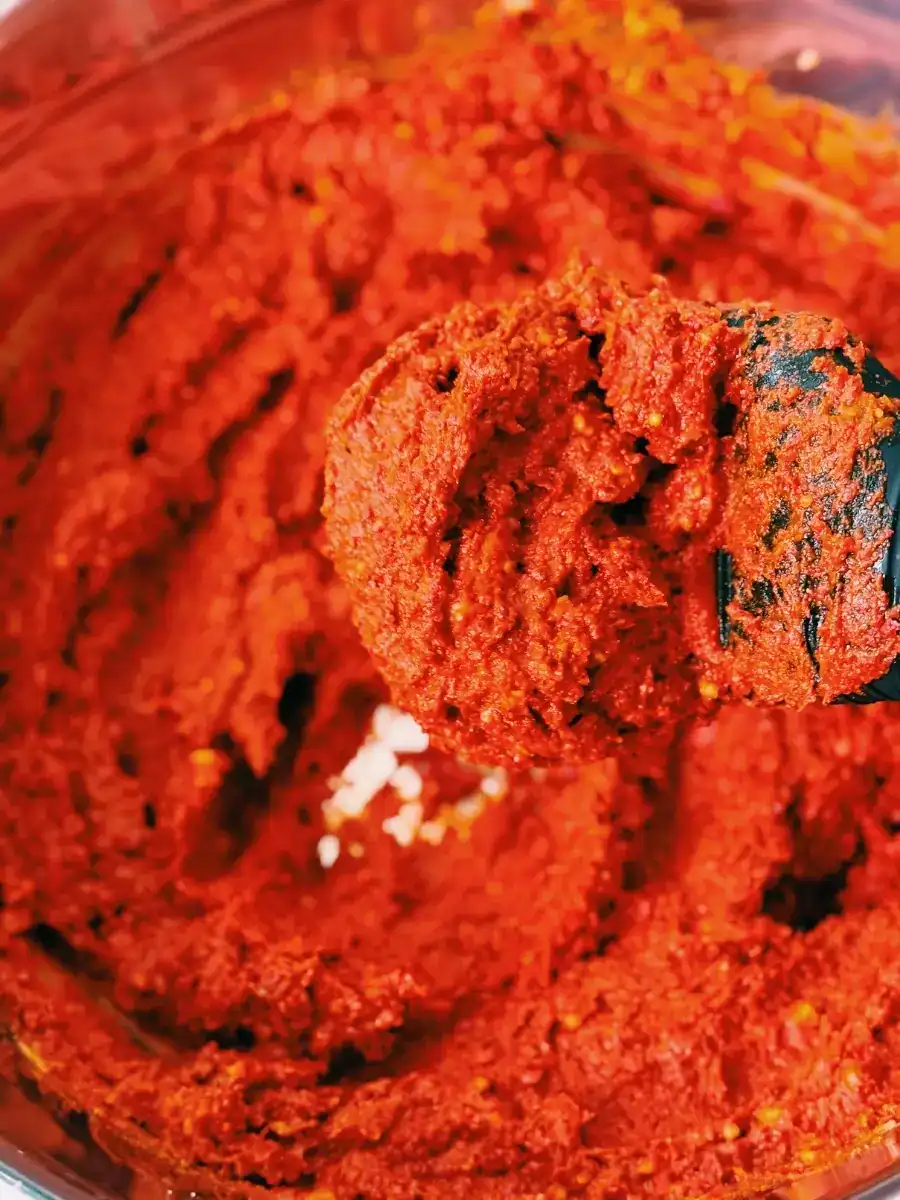
This kimchi recipe’s seasoning paste is actually fairly traditional, including basic ingredients like Asian pear (or apple), yellow onion, garlic, ginger, Korean chili flakes, and rice flour. You can adjust the spiciness based on the amount of chili flakes you add.
In order to make a fully vegan kimchi seasoning paste, we replaced the salted fermented shrimp Saeujeot or traditional Korean fish sauce in the traditional kimchi seasoning recipe with miso. It gives a similar umami-packed saltiness without extra seafood added. It still has a fermented smell, but not that strong fishiness that most people are a bit scared of.
Step-by-Step Guide to Vegan Kimchi
- Cut the Napa cabbage into quarters lengthwise, rinse thoroughly, and place in a large bowl.
- Sprinkle the salt evenly over every layer of the cabbage, tossing to coat. Let sit for 1–2 hours with a weight on top, tossing every 30 minutes. The cabbage should soften but remain slightly crunchy. You’ll know it’s ready when the leaves bend easily.
- Rinse the cabbage 2–3 times under cold water to remove excess salt, then drain well. Gently squeeze to remove excess water. The cabbage should taste slightly salty and crunchy.
- In a small pot, combine the rice flour and water. Whisk until smooth, then cook over medium-high heat, stirring constantly, until the mixture thickens and becomes slightly translucent (about 4–5 minutes). Set aside to cool for 30 minutes.
- In a blender or food processor, combine the Asian pear, onion, garlic, ginger, gochugaru, and miso paste. Blend until smooth. Adjust chili flakes to your preferred spice level.
- In a large bowl, mix the cooled rice flour paste, blended pear mixture, carrots, daikon, and chives until well combined.
- Wearing gloves, gently massage the paste into each cabbage leaf, ensuring all layers are evenly coated.
- Fold the cabbage leaves inward to seal in the paste and set them aside.
- Pack the coated cabbage into a clean, airtight glass jar or container, pressing it down firmly to remove air pockets. Leave about 1 inch of space at the top for expansion during fermentation.
- Seal the container and let it ferment at room temperature for 1–2 days, “burping” the jar daily to release gas. Taste daily to monitor tanginess.
- Once fermented to your liking, transfer the kimchi to the refrigerator to slow fermentation. It’s ready to eat but will continue to develop flavor over time.
Mess-Free Kimchi Making At Home
While making the kimchi, I love to wear disposable gloves to keep things mess-free. This protect your hands and surfaces from stains and the salt and chili’s harshness without all the ingredients falling out of the bowl. You definitely don’t want to be rubbing your eyes with spicy hands!
To make sure that we have plenty of space to mix the kimchi, I use an extra large mixing bowl to mix the cabbage and seasoning by hand. Then, we transfer the kimchi into large glass jars or special kimchi containers to ferment.

What To Eat with Vegan Kimchi
This Vegan Kimchi can do everything normal kimchi can! I love adding this vegan kimchi as topping or sides for EVERY meal. It’s particularly my favorite thing to add to any brunch. I love it simply with a bowl of purple multigrain rice and a seasoned marinated egg.
It’s also a must-have banchan for any Korean BBQ family dinners, as well as an easy go-to topping for any breakfast egg rice bowls or cold noodles.


Use Vegan Kimchi In These Kimchi Main Dishes
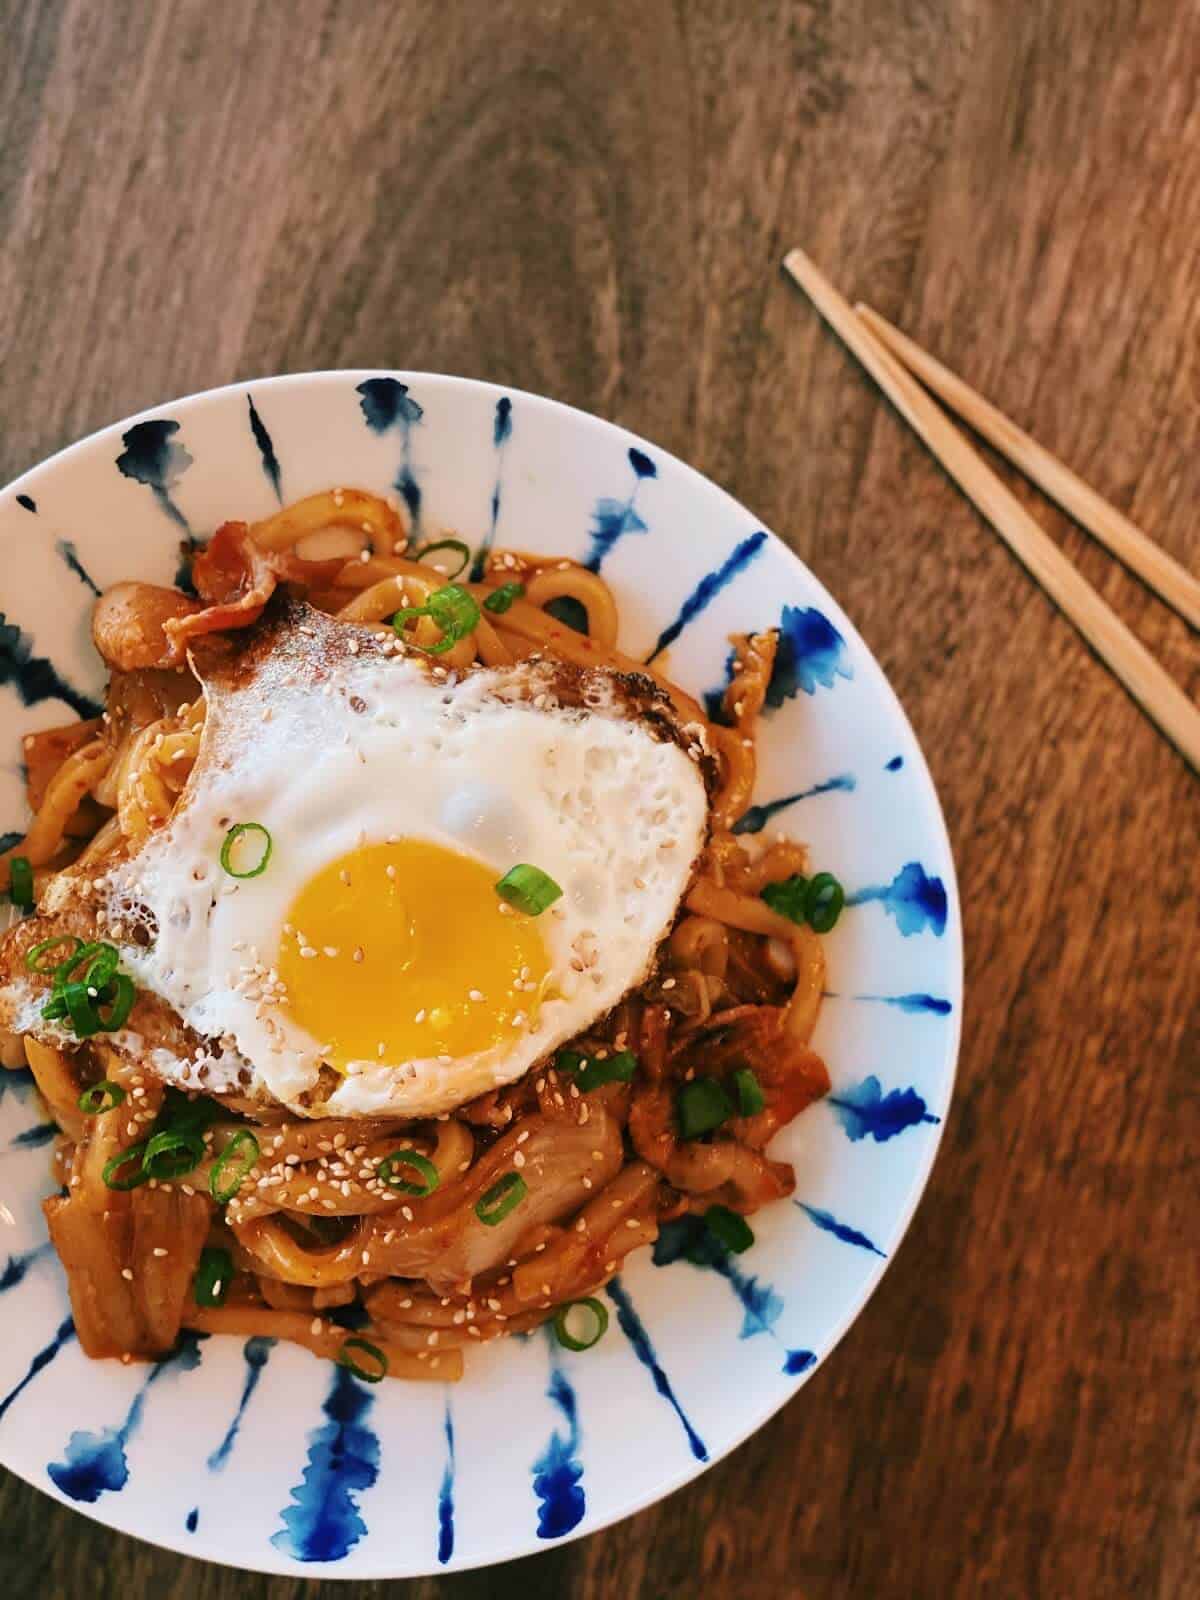
I have both traditional kimchi and my homemade vegan kimchi in the fridge, and I use both all the time. If I’m cooking for people with seafood allergies or need milder flavors, I always use this vegan version just in case.
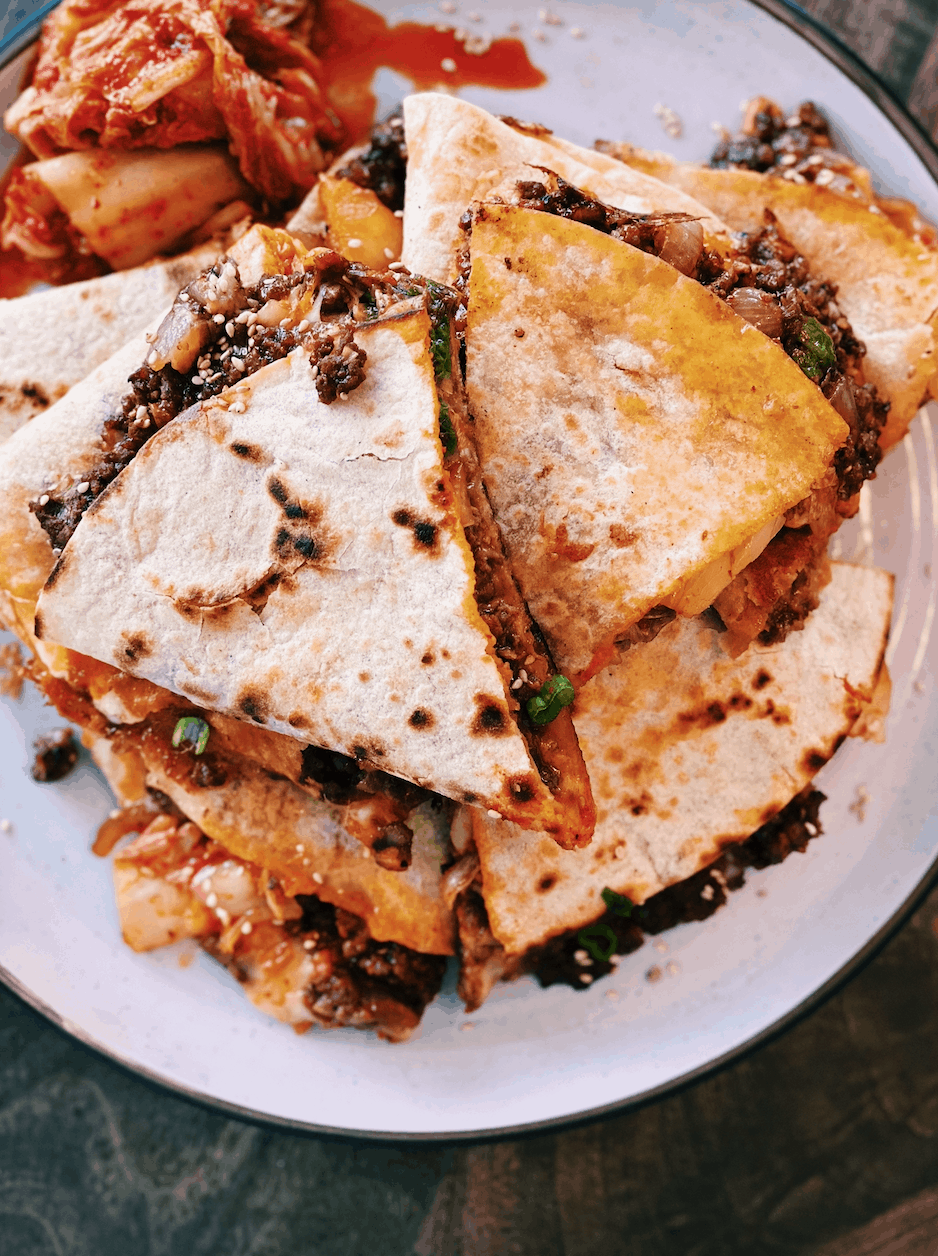
I also prefer to use the vegan kimchi in soups and stews, because it has a less overpowering smell while cooking, but still give me that spicy punch of flavor. This is also a great kimchi to use for Kimchi Fried Rice at any time.


Meal Plan Ahead For The Week With Me!



Make Your Own Vegan Kimchi At Home
By Tiffy Cooks
Equipment
Ingredients
- 1 Napa Cabbage 3–4 lbs
- 1/2 cup coarse sea salt or kosher salt for salting the cabbage
- 1 Carrot julienned (about 1 cup)
- 1 Daikon julienned (about 1 cup)
- 4-5 stalks chives or green onions cut into 1-inch pieces
Kimchi Paste
- 1 Asian pear or apple, peeled and chopped
- 1/2 yellow onion peeled and chopped
- 18-20 cloves garlic peeled
- 1 inch ginger peeled and chopped
- 1 cup gochugaru Korean chili flakes; adjust for spice level
- 1.5 tablespoons miso paste or vegan fish sauce optional
- 1/4 cup rice flour
- 1 cup water
Instructions
- Cut the Napa cabbage into quarters lengthwise, rinse thoroughly, and place in a large bowl.
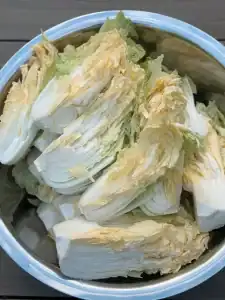
- Sprinkle the salt evenly over every layer of the cabbage, tossing to coat. Let sit for 1–2 hours with a weight on top, tossing every 30 minutes. The cabbage should soften but remain slightly crunchy. You’ll know it’s ready when the leaves bend easily.
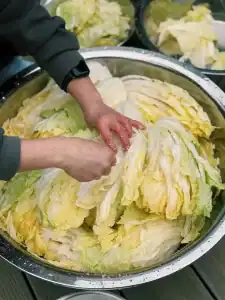
- Rinse the cabbage 2–3 times under cold water to remove excess salt, then drain well. Gently squeeze to remove excess water. The cabbage should taste slightly salty and crunchy.

- In a small pot, combine the rice flour and water. Whisk until smooth, then cook over medium-high heat, stirring constantly, until the mixture thickens and becomes slightly translucent (about 4–5 minutes). Set aside to cool for 30 minutes.
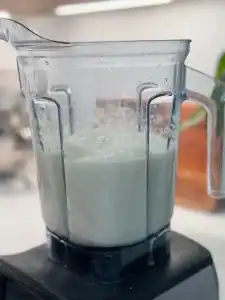
- In a blender or food processor, combine the Asian pear, onion, garlic, ginger, gochugaru, and miso paste. Blend until smooth. Adjust chili flakes to your preferred spice level.

- In a large bowl, mix the cooled rice flour paste, blended mixture, carrots, daikon, and chives until well combined.
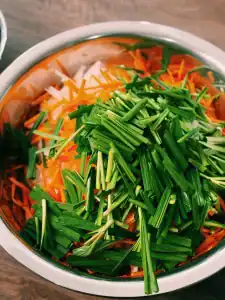
- Wearing gloves, gently massage the paste into each cabbage leaf, ensuring all layers are evenly coated.

- Fold the cabbage leaves inward to seal in the paste and set them aside.

- Pack the coated cabbage into a clean, airtight glass jar or container, pressing it down firmly to remove air pockets. Leave about 1 inch of space at the top for expansion during fermentation.

- Seal the container and let it ferment at room temperature for 1–2 days, “burping” the jar daily to release gas. Taste daily to monitor tanginess.
- Once fermented to your liking, transfer the kimchi to the refrigerator to slow fermentation. It’s ready to eat but will continue to develop flavor over time.




Hello there. Hope you are well! I never have Daikon Radish. So I get stuck with not making it, and I looove Kimchi. To make this recipe, can I omit / leave it out? Thanks so much
Hi Ayla, you can skip the daikon radish if you can’t find them!
Tiffy